text: Uschi van der Rosten
Images: Uschi van der Rosten
Transcribed by Lars Befring with permission by Uschi van der Rosten
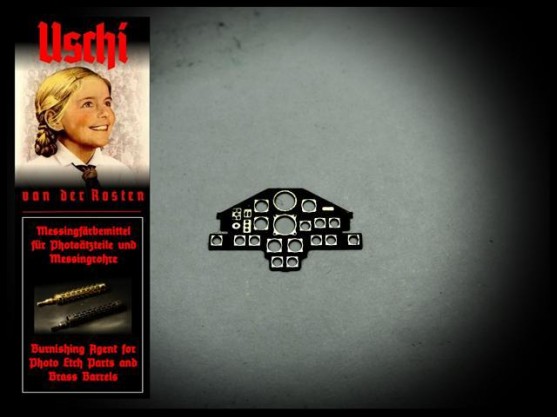
Eduard PE instrument panel, burnished with UvdR-1 burnishing agent and partly polished.
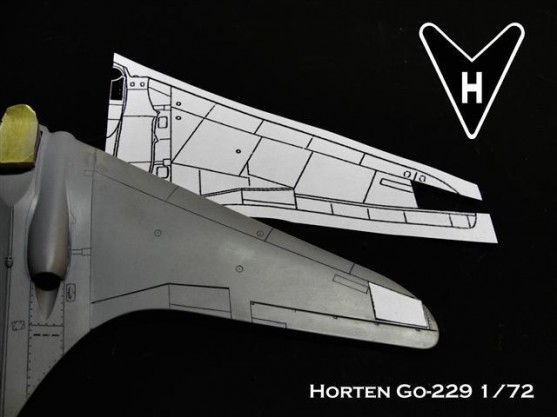
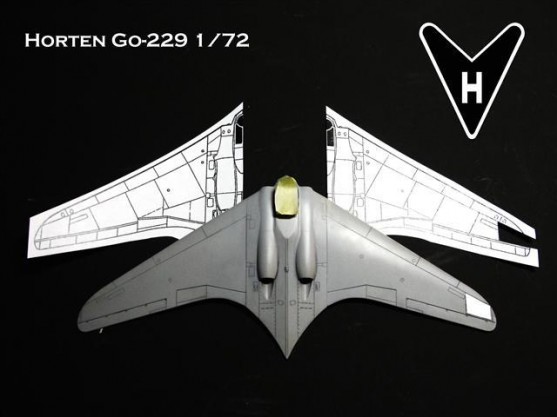
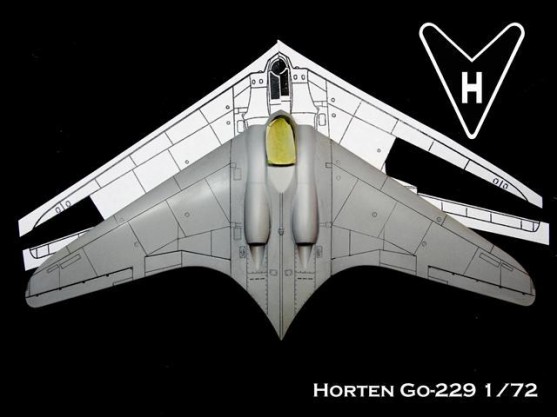
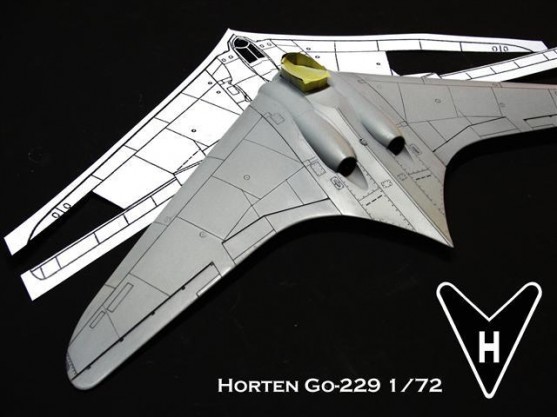
More panels! A blue print has been printed and fit to size, working as a guide for panel positions.
More panels! The panel pattern now can be drawn with a lead pen. I prefer these pens since errors are easy o correct.
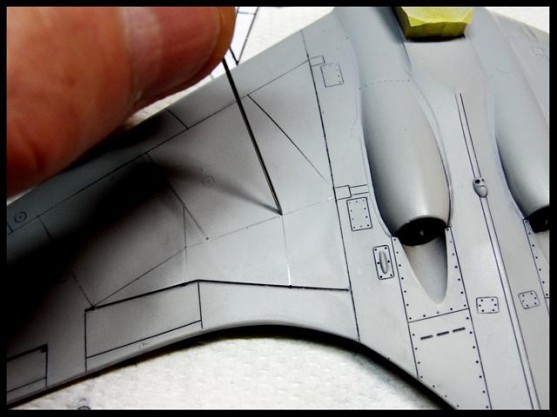
As soon as the panels were drawn with a lead pencil, I punched some holes with a needle in order to set a ”stop-point”, which should help to avoid ”overshooting”, especially on the intersections during the engraving process.
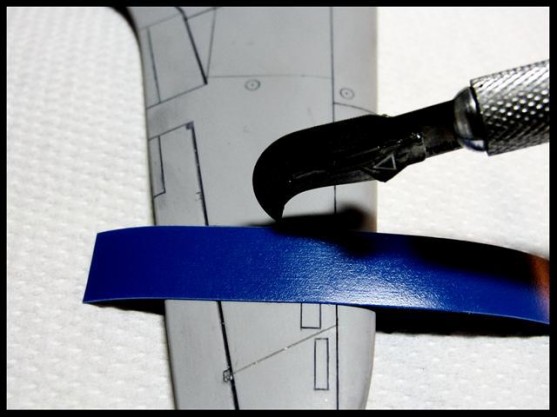
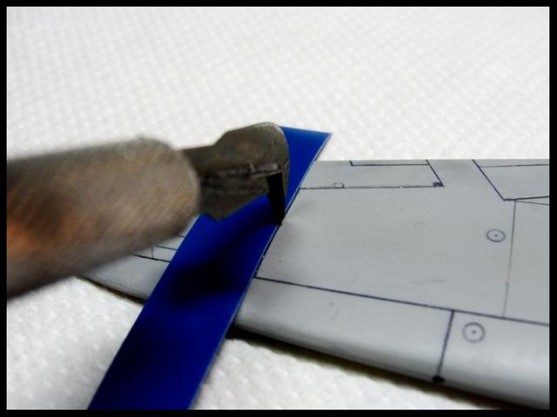
Dymo-tape was used as a reliable ruler. Flexible, stable and sticky. That’s how we like it.
I prefer to scribe at least 4-5 times on one line, some strikes beginning on one, some strikes on the other end of the line. The first two strikes are very light and should just create a thin line. The scribing tool now runs precisely and almost by itself, so we can add more pressure now to reach the desired depth. One wrong move with too much pressure and we again would have to putty and sand on that spot.
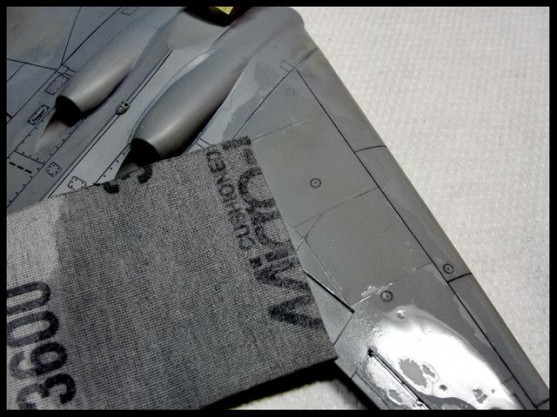
The edges of the engraved panel lines were smoothed with Micro Mesh polishing clothes. I always use it wet to avoid clogging. We create some light muddy sediment that way, which collects in our new lines. I remove these sediment with some very light strikes with the scribing tool again. We now should have ”clean” lines and be ready for a final check if we did everything right.
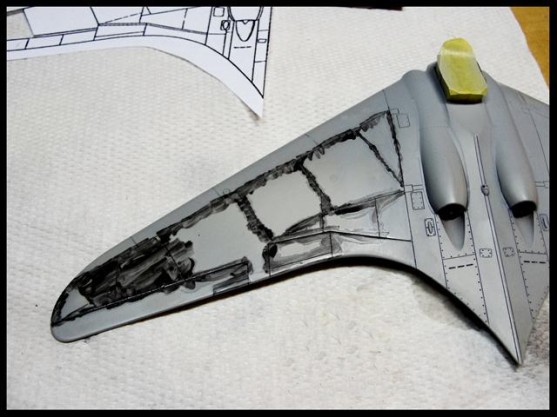
A panel wash reveals if we did everything right. Its a pin wash and I use thinned black oil color for this. I fan it dry with the unloaded airbrush. After this I take a tissue and whipe away all excess color. The the tissue is slightly dampened with turpentine.
We now can check if we have made some mistakes which we should fix. In this case I decided to leave it as it is. If we have a clean picture on this stage, we can be sure that we also will have one when the colors come in.
The engine nacelles also need a re-engraving. Part of the next update in that album. It gonna be a bit tricky since these are pretty much round shaped. Well, Dymo-Tape will be of help.
The original article was posted on Uschi van der Rosten´s Facebook page: http://www.facebook.com/uschi.vanderrosten
More tutorials and some really cool products can be found on: http://www.uschivdr.com/

Herligt at se så gode fotos og så fin kvalitet på arbejdet med modellen!