Bringing the Old Testors F-104C Kit up to Modern Standards
by Alejandro Nuñez

The Lockheed F-104 Starfighter was one of the most extreme designs of ”Kelly” Johnson, Lockheed’s famous chief designer. It grew out of the combat experience of the Korean conflict, where many of the American pilots felt that the Soviet Mig fighters were superior to the larger and more complex American design, and thus requested a small and simple aircraft with excellent performance.
In order to achieve the desired performance, Lockheed chose a classic approach of picking the most powerful engine available and building a smallest and most aerodynamically efficient airframe possible around it. The emphasis was on minimizing drag and mass. All fuel and equipment was tightly packed in the fuselage so that a radically new, very small and thin wing with razor-sharp edges could be employed to optimize supersonic performance.
The resulting aircraft, soon to be nicknamed ”the missile with a man in it”, was a high-performance supersonic interceptor capable of high speeds, incredible climb rates and superb acceleration. It was the first combat aircraft capable of cruising at Mach 2 and its performance remain impressive even by today’s standards. There were also some serious drawbacks caused by the uncompromised design. The Starfighter’s turn performance was very poor, described by pilots as more like a milk truck than a fighter. It also proved very sensitive to control input and extremely unforgiving of pilot error, especially during landing approach.
These problems were the reason for Starfighter’s limited success with the USAF. It entered service with the US Air Force in 1958 and was phased out by 1967. However, Lockheed did an incredible feat of putting the new life info the design as an all-weather ground attack and interceptor aircraft. This became the updated F-104G and sold well abroad, particularly in NATO among the air forces of Germany, Canada, and Italy, where the aircraft continued in service until the mid-1980s.
My encounter with the Starfighter started some 2 years ago when I found this kit. As I like the F-104 I didn’t hesitate buying it; it would be put in my stash until the day I found the inspiration to build it.
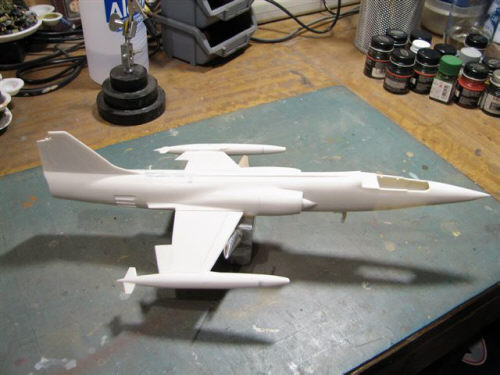
And so when this moment arrived, I started to examine the contents of Testors’ box more carefully – and the anxiety came in immediately. The kit was very, very basic indeed, few pieces, no details. Cockpit interior? Forget it! Luckily my interest in the subject helped me to make a good decision, that of building it to a high standard and natural-metal finish despite the mediocrity of the basic material.
Construction
The cockpit of the Testors kit was completely bare. In the first stage of my project I therefore went about scratchbuilding some internal details, not only in the cockpit area but also the exhaust nozzle, the wheel wells and airbrake recesses.
At this stage I have also sawn off the wing flaps, to be reattached in lowered position later.
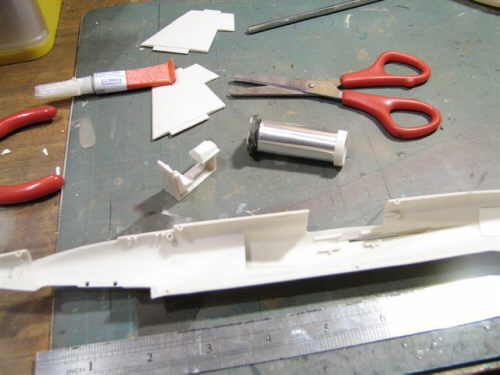
Scratchbuilding in progress. Visible parts are the cockpit interior assembly in progress, The exhaust nozzle (internally detailed) and the wings sans integrated flaps.
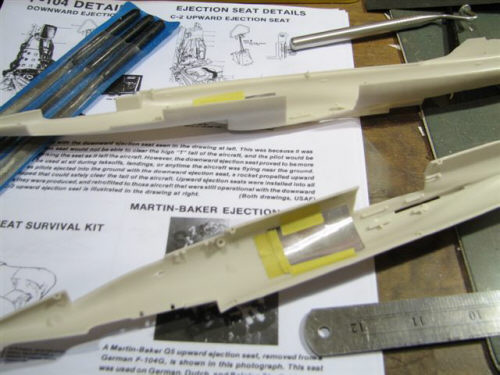
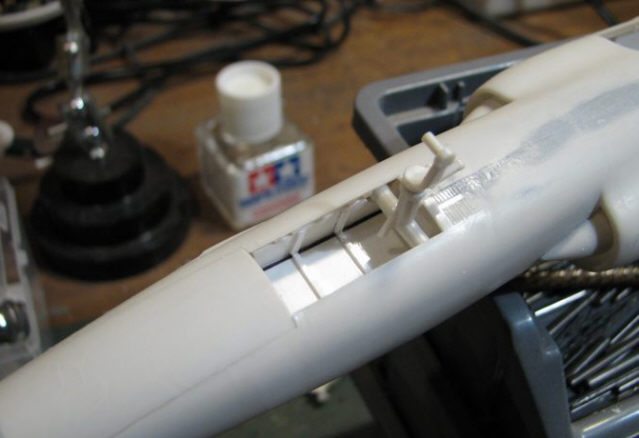
A tricky area in many jet aircraft kits is the interior of the air intakes, which should be represented as a smooth air inlet. To achieve this, I added a smooth surface using pieces of thin metal plate shown here.
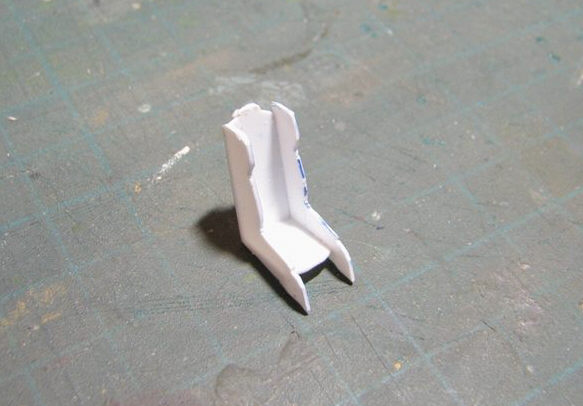
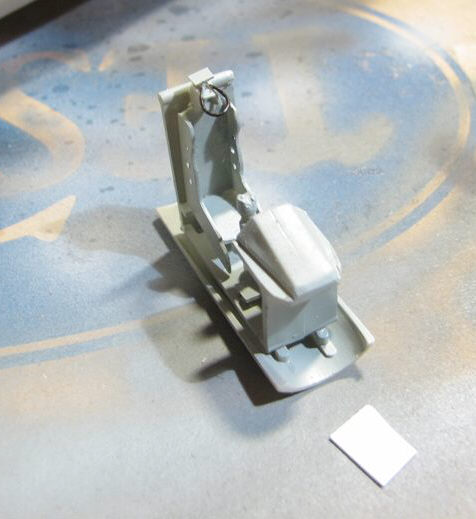
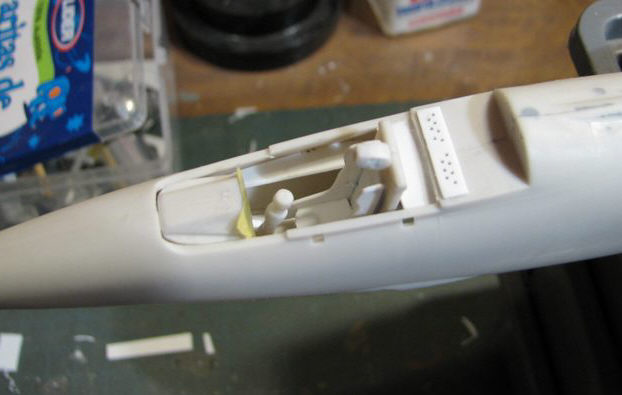
Different stages of the cockpit assembly. The interior module including the ejection seat was built entirely from plastic card. Note also additional detail added to the cockpit rim.
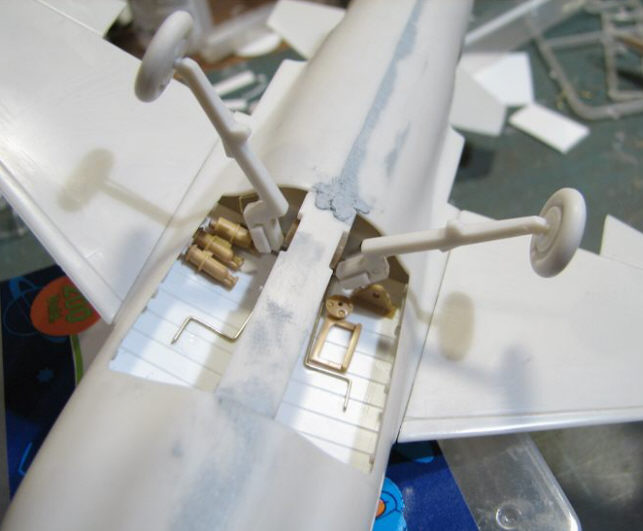
Similar techniques were used to box-in and detail the wheel wells.
The Natural Metal Finish
After the significant amount of detailing, fitting and trimming was completed, it was time to put the main airframe components together. Filler was needed at the major joints, so the next phase was sanding, restoring panel detail and polishing in preparation for the natural metal finish.
My first thought was to use metalizers, so I applied a base coat of gloss black lacquer to act as a primer. This was followed by a coat of Aluminum and Silver Model Master metalizers. Sadly, the metalizers gave the finish that wasn’t just enough ”metal” for my taste, so I thought I had to do it the hard way – with aluminium foil!
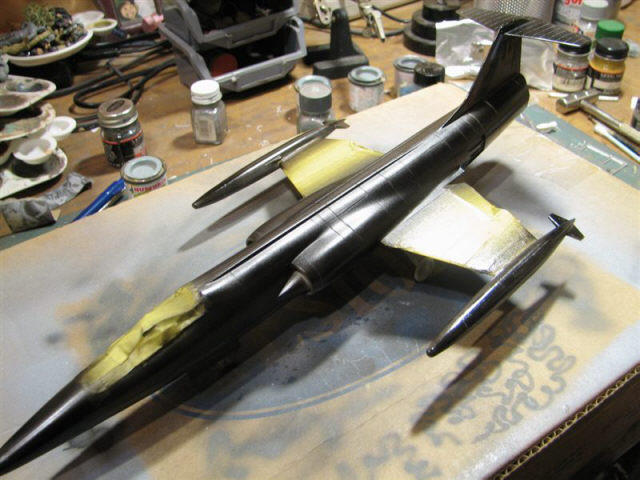

The first (and unsuccessful) Metalizer application
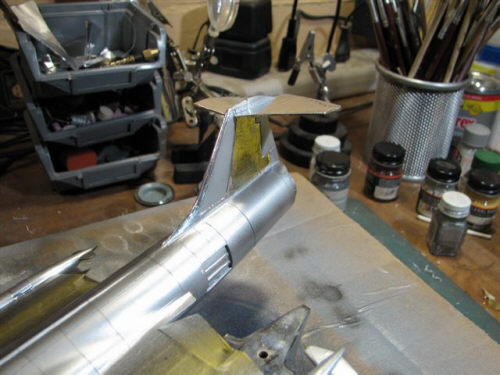
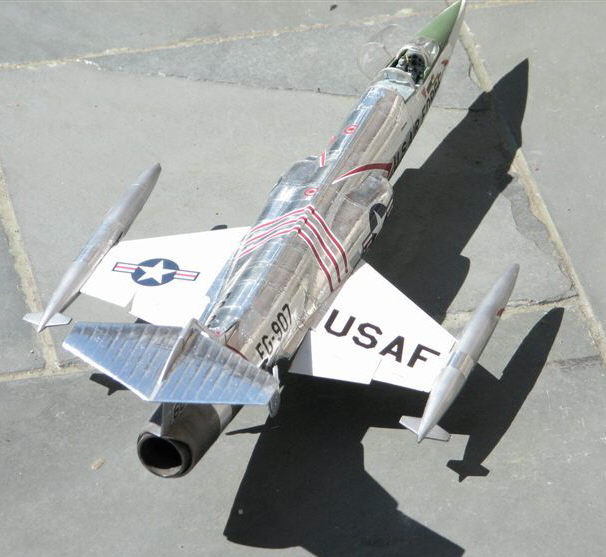
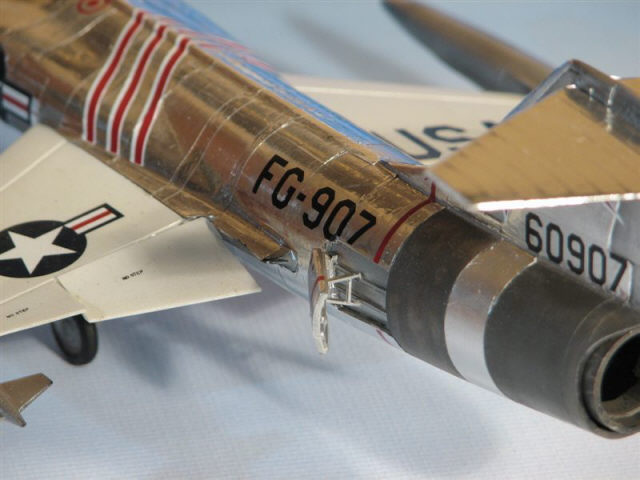
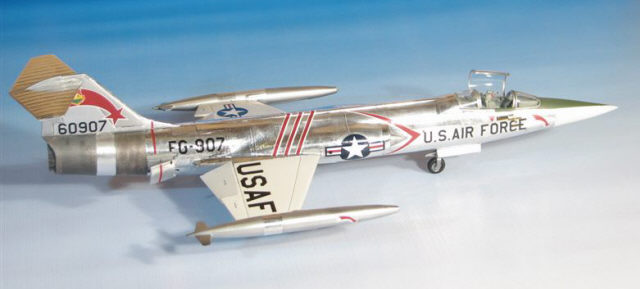
The foil used for the finish was the ordinary kitchen aluminium foil. Piece by piece, panel by panel, section by section, one side and another side, the aircraft was covered with it… and the results this time were very convincing, at least in in my opinion.
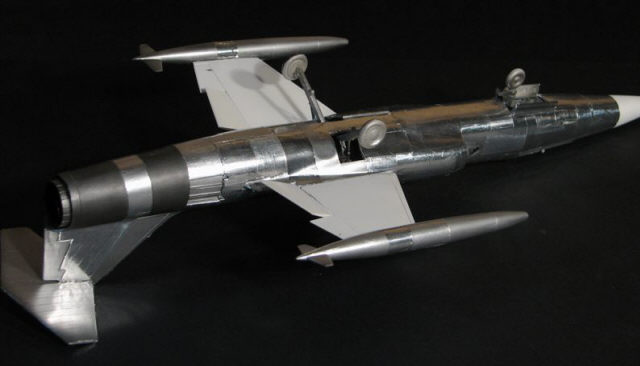
These two images show the model with foiling completed. The superior quality of the finish compared with the painted-on look of Testors Metalizer is readily apparent.
The Result
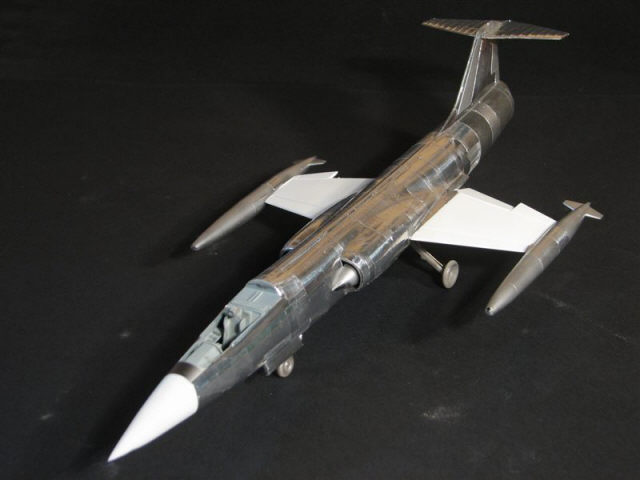
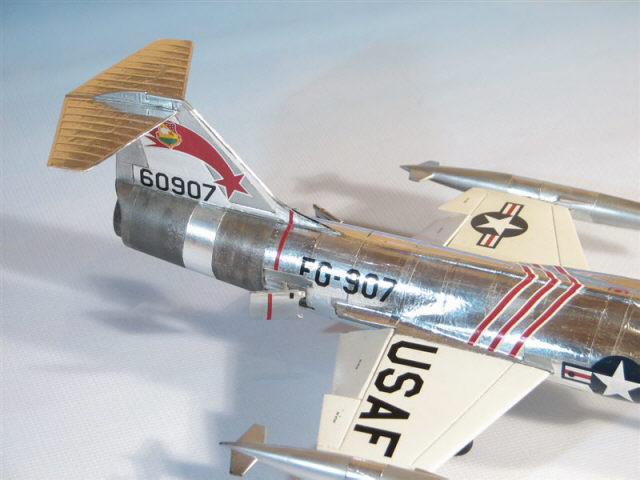
What can I say that would best summarize this project? The kit is very, very basic but with a little of work and imagination you can still turn it into a good scale model of an F-104 A/C. Foiling for natural metal finish is tedious but brings superior results. Everything considered, a project like this requires that extra bit of dedication to get finished – I’m glad I did it and will probably do more in the future. I’ll end this article with the photos of the completed model in the sunlight where al the shine really comes out.
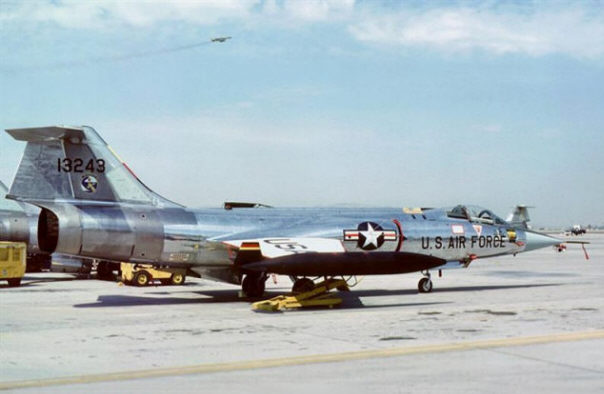
For comparison, photo of the real guy: full-scale F-104C in finish very similar to the one represented in my 1/48 scale model.

This article was originally published in IPMS Stockholm Magazine in November 2006