by Martin Waligorski
Seat belts are the most prominent cockpit detail of many aircraft models. During recent years kit manufacturers recognized this, trying to provide seat belts within the basic kit. A common solution is to include seat belt decals. Sadly, because of the decals’ flat appearance this solution is far from perfect. It has even become an object of frequent complaints from purists and reviewers alike. ”If this kit had photoetch seat belts I would consider it perfect – instead it contains decal seat belts, possibly my only complaint.” – if you are a regular reader of a model-related publication you have probably read similar comments yourself.
In this article I will show you how to make the decal seat belts look really good on your model.
The basic idea is to get rid of a ”flat” appearance of the decals while retaining the printed-on detail. I do this by applying them to a piece of metal foil rather than directly to a model. This way the usually nice printed detail of the decal can be combined with three-dimensional qualities of the foil-made belts. I will show this using the (tiny) decal belts from 1/72nd scale Tamiya Mosquito FB Mk. VI.
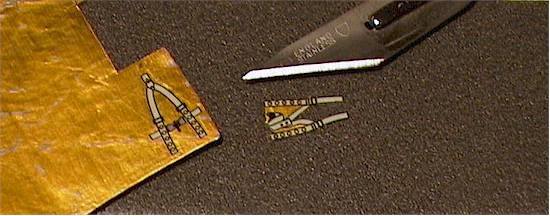
First, apply the decals to a sheet of metal foil. For this I strongly recommend lead foil which often can be found sealing the bottles of fine wine (hence the gold color shown here). Lead foil is very soft and can be easily formed to any desired shape.
When the decals are dry, I use a new scalpel blade on a hard surface to cut off the excessive foil around the decal so that only the belt contour is left.
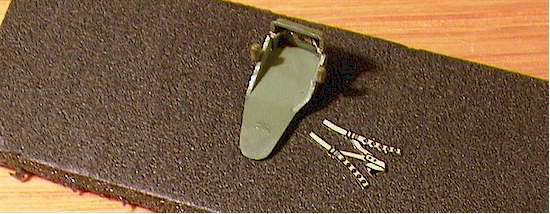
The results can be seen here. The harness is now ready to be laid out on the seat.
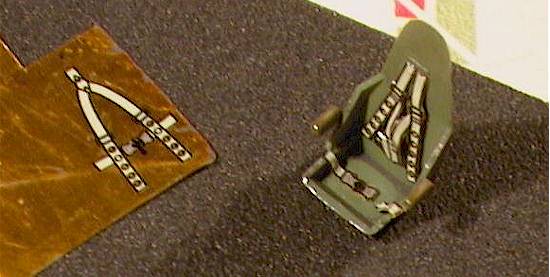
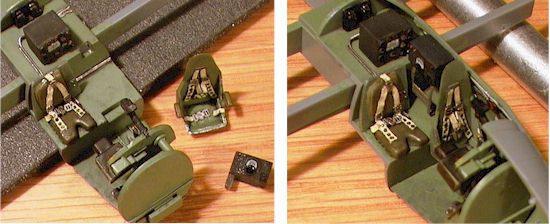
This is how the result looks like. Because of the soft quality of the lead foil the belts can be formed to any desired three-dimensional shape. You only need to use small drops of superglue to attach the belts in place.
Well, the basic method ends here. Depending on how your decal belts look like, and how well they will be visible on the finished model, you may choose to stop here.
With my Mosquito pilot’s seat, I was pleased with the above results. However, I chose to take further steps to remove the ”graphic” quality of the result caused by the original seat decals being printed with relatively heavy contour lines.
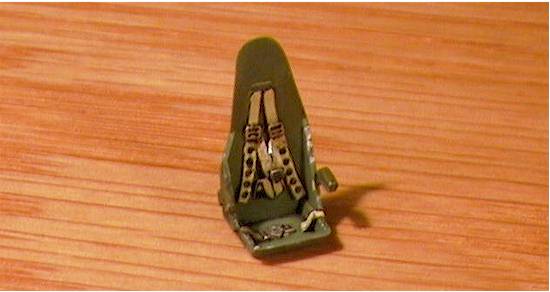
..and this is what I have achieved. It took two more easy steps to complete. First, the heavy contour lines were touched up with a paintbrush. I used no. 0 brush and Humbrol enamel. Any color shade roughly similar to the decal color can be used.
As I hade some spare photoetched buckles, I added them, too, for even more realistic appearance. These were pre-painted in silver and attached with tiny drops of superglue. I also applied some black wash to bring out their detail.
In my humble opinion the resulting belts look better than the photoetch and parts are easier to handle at all stages, so there is a good chance of avoiding those unnecessary blobs of glue all over the seat… There is also a cost – cutting out from the sheet foil can be a bit tedious. Is it worth the effort? You can judge it from the pictures. In case of my Mosquito, it was: I had a lot of fun doing it!
This article was originally published in IPMS Stockholm Magazine in December 2000.
