by Peter Ibes, IPMS Netherlands
This article was first published in ‘Modelbouw in Plastic’ – a magazine of IPMS Netherlands .
Used with permission of the Editor.
Winter Camouflage for Luftwaffe aircraft
When Germany invaded Russia in June 1941, the 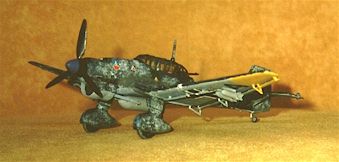 Luftwaffe Generalstab thought that the war would be over before the end of the year. For that reason no plans were developed to camouflage the Luftwaffe aircraft during the winter months. With the onset of winter, Russia had still not surrendered. This forced the German ground crews to improvise on a large scale, in order to hide their planes from the air. Later during the war the use of winter camouflage was standardised.
The winter camouflage of Luftwaffe aircraft consisted of a 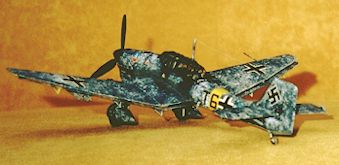 uniform white coat of paint. This was applied over the standard camouflage. The used paint faded quickly, due to its temporary character and thus gave Luftwaffe aircraft a very patchy and weathered appearance after a while.
The Approach
The most realistic Luftwaffe winter camouflage can be obtained by doing it the way the operational units did during the war: camouflage over camouflage.
- Paint the standard camouflage first
- Apply a dull white winter camouflage over the standard camouflage
- Simulate wear of the white camouflage coat.
How to do
In order to apply a realistic winter camouflage,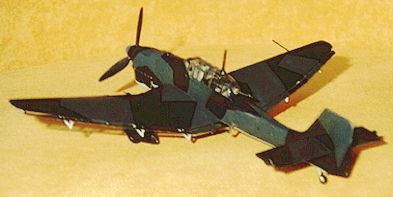 it is important that the model is first painted in the standard camouflage. For fighters, such as the Me 109 and Fw 190, this should be a splinter camouflage of RLM 74, 75 and 76. For bombers (Ju 87, Ju 88, He 111) and reconnaissance aircraft (i.e. Fi 156, Fw 189, Hs 126) a scheme of RLM 70, 71 and 65 should be used.
Depending on the type and the unit, apply the winter camouflage in a uniform coat or in spots, streaks or bands over the standard camouflage. Use a picture of the aircraft you are modelling to determine the right pattern or shape of the winter camouflage. Always use (diluted) matt white paint for the winter camouflage. This dries quicker and gives a better final result.
If you use brushes for painting, choose one with short, 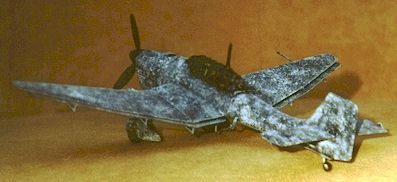 sturdy hair. Use the brush in such a way that the underlying standard camouflage shows through. Using an airbrush the white painted should be applied in several coats. Do not apply a uniform coat to the model, unless it depicts a freshly painted aircraft;L always make sure that the underlying greys or greens show through. For Luftwaffe aircraft the winter camouflage was applied down the sides of the fuselage. Cockpits (and turrets) were not camouflaged and remained their standard colour. These, as well as other areas that were not camouflaged, should be masked prior to adding the white winter coat. Please note that in some cases only the RLM 70 Schwarzgrün areas were painted white.
As indicated, the white winter coat faded rapidly. This was especially true for protruding parts, the front of wings and tailplane and walkways. These can be accentuated by drybrushing them with the underlying camouflage colour. Also the exhaust stains set strongly on the dull white background. These should therefore also be drybrushed, or painted on.
After the winter camouflage has dried, tactical 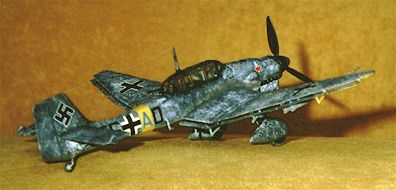 recognition marks as yellow band, wingtips and cowling undersides can be added, as well as the decals.
My demonstration model represents a Ju 87 B-2 of Hans Ulrich Rudel, III./StG 2, Russia 1942. The kit comes from Heller, and the decals from SuperScale sheet no. 72-656.
This article was originally published in IPMS Stockholm Magazine in June 2000.