by Bryan Ribbans
Visiting the ’Memphis Belle’
Yes, this is the real one! The following photo 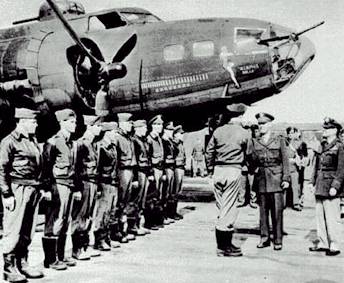 walkaround is of the original Memphis Belle, subject of the famous William Wyler colour film shot over the skies of Europe all those years ago. Now she rests preserved in her ’home town’ of Memphis, Tennessee, located in a purpose built dome type structure on Mud Island. This is an actual island sitting in the Mississippi River reached by a short ride on a monorail from downtown Memphis riverside. It actually sits at one end of a park area which contains a local museum, swimming pool and a fantastic replica of the entire Mississippi river trail in miniature which finishes in the swimming pool!
This location, it has to be said, is not ideal. The structure is purely a form of tent over the aircraft site and thus is open to severe changes in temperatures. Whilst I was there it was incredibly hot under it and one could not stay for long without seeking liquid refreshment and air-conditioning. However, for the model maker the effect the dome has on photography is even worse. As you will see from these prints they are not up to my usual standard; some appearing dark whilst others appear with a yellowish cast. This is due to the light falling through the roof. The ome material has a distinct yellow tinge to it which no matter how one sets the camera up will show on all the prints. There is no other form of artificial lighting under there at all – just natural daylight. It takes a long while for your eyes to get focused correctly under these conditions just to look at it, so what chance has your camera got in a split second? None…
All of this preamble is to say that the photos have been scanned and digitally enhanced at the best settings I can get and that’s that.
However, this is a very famous airplane, one of only a very few model F’s and arguably the most famous ”F” of them all. And one can get all around it.
The paint scheme
Belle has been shabbily treated over the years and it is only in the last few years that a determined effort was made to restore her to her former glory; and what a good job was done! I don’t know what she is like inside – the cockpit looks good from what I could see – but externally she is gorgeous! The paint work is very well done, faithful to the original and it really does look realistic being very matt.
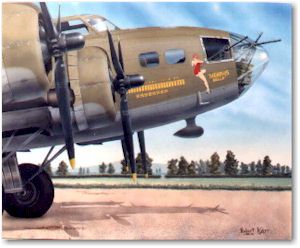
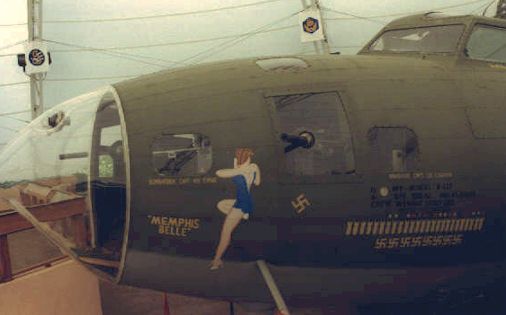
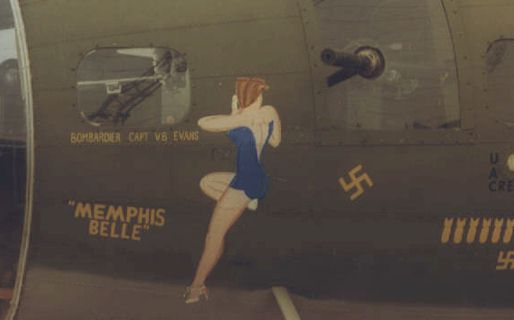
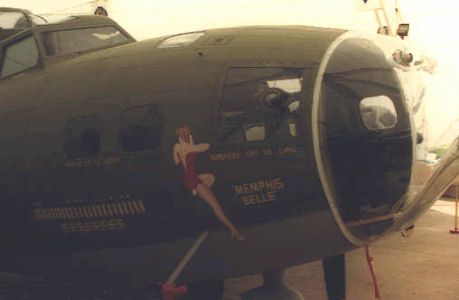
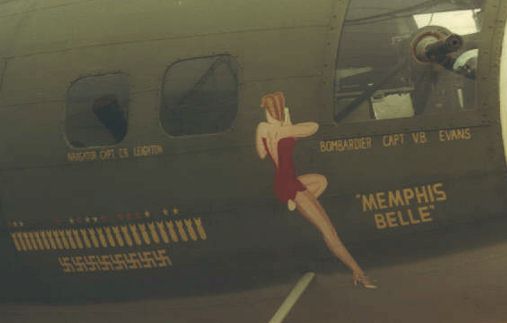
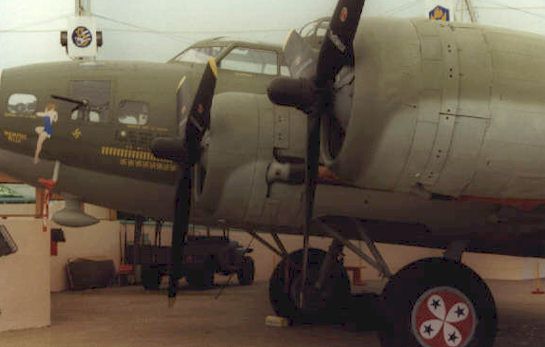
The famous Belle artwork has been faithfully re-applied. Something that I personally did not know is that it is carried on both sides of the nose, one in red and one in blue – I wonder how many people realise that… I came straight back and checked my references when I got home and sure enough, there it was! Each of the flight station postions carry artwork externally along with the bomb tally on the port nose. And note the fancy wheel hub covers which are different colours on either side of the aircraft.
Personally, whilst I am pleased to see that the old lady has been restored I would prefer to see her in a proper museum and surely the place for this is the USAF Museum at Dayton, Ohio where she would be visible under much better controlled conditions and where she can continue to recieve the sort of treatment that will keep the airframe preserved for future generations; just a thought.
There are kits available in 1/72 and 1/48 and aftermarket decals sheets featuring Belle in all her glory so now there is no excuse not to finish a B-17F in perhaps the most famous colour scheme of all early Forts. If you ever get to Memphis she is worth a visit and be thankfull that the swimming pool is just a few yards walk away; it’s damn hot in summer.
Painting by Robert Karr
Boeing B-17F 41-24485 in Detail
A set of over 20 photographs has been divided into three sections. Follow the links below.
Nose area
Including the famous Belle artwork.
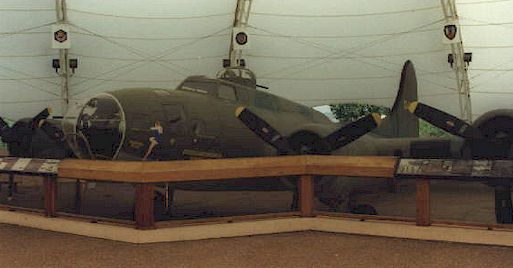
This is how Memphis Belle looks today. The walkway is raised above the gorund level allowing fo the good view of the nose area. Good idea that and one a few other places could take note of.
The paint work is Olive Drab over Neutral Grey with Medium Green blotches randomly applied over the upper surfaces.
Photo: Bryan Ribbans
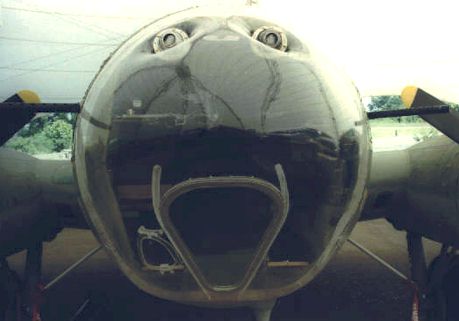
A head on shot of the nose glazing which is not usually available with a Fortress unless you have a tall ladder! Note the subtle indentations in the plexiglass for the forward firing machine guns. The guns are missing now, but were carried during the operational career of the aircraft. Photo: Bryan Ribbans
Nose again. Note the continuation of the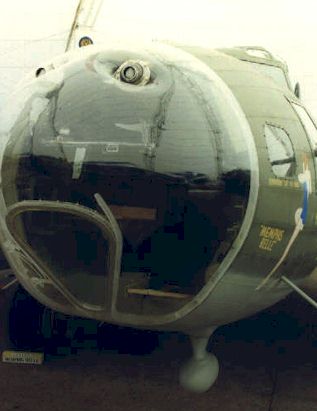 bomb aimers optically flat panel fixing ribs – something often missed on scale models. Note also how flush the side glazing is with the fuselage skin. Photo: Bryan Ribbans
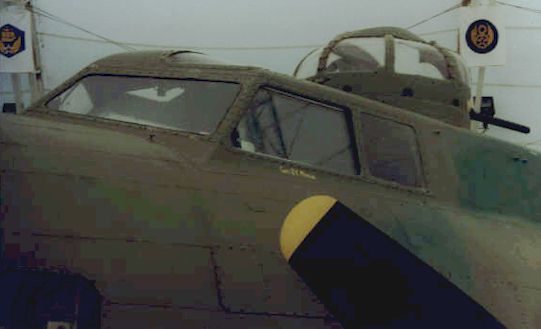
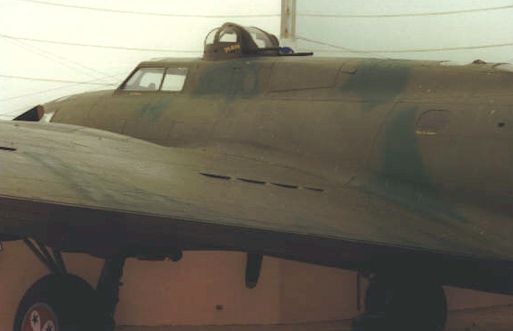
Close up of the port cockpit glazing; and also the inboard propeller tip. Photo: Bryan Ribbans
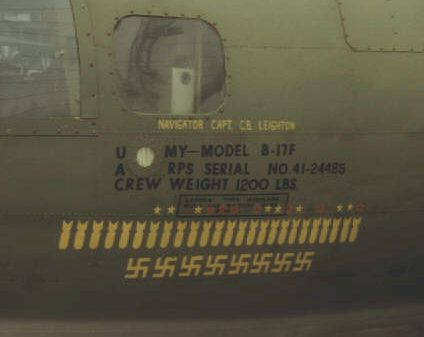
Data table close-up showing the mission tally. This shot also gives a good idea of the fuselage skinning and panel line details. Photo: Bryan Ribbans
Port nose view. Note the pointed profile of the nose glazing so typical of the ”F” model and style of side glazing. Memphis Belle carries an evidence of efforts taken in the field to beef up the forward firepower of early Fortresses. The side windows and gun mounts are non-standard and were applied during the aircraft’s service with 324th Bombardment Squadron, 91st Bombardment Group. Together with twin guns in the plexiglass nose, the Belle had a total of four forward-firing .5 calibre Brownings. Photo: Bryan Ribbans
Belle is blue on this side. Got great legs!… Photo: Bryan Ribbans
Starboard side of the nose. The cheek gun position is offset forward compared to the port side. Also the other side windows differ in configuration. Photo: Bryan Ribbans
Close up of the starboard nose art with with Belle in her red dress here, but still facing the rear of the aircraft.
Photo: Bryan Ribbans
Engines and wings
The four Wright Cyclones and the surrounding wing area
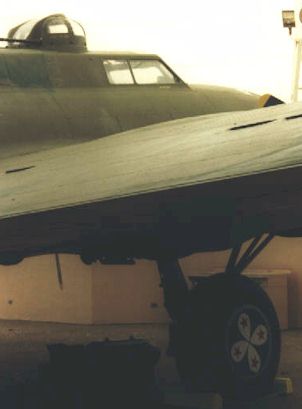
Port engines. Note the painted wheel hub covers with a red background; the same pattern is repeated in blue on the starboard side. Note also the panel lines around the engine cowlings. This is how panel lines should look on your model. 🙂 Photo: Bryan Ribbans
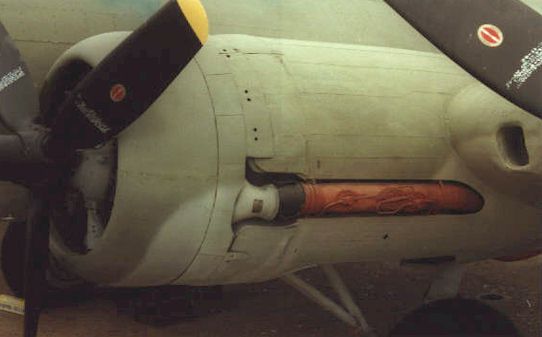
Close-up of the port inboard engine nacelle showing the exposed intercooler pipework. Interesting details are the smaller pipes welded on there; I for one did not know that these existed. The profile of the wing intake can also be seen together with details of the stencilling on the prop blades. Photo: Bryan Ribbans
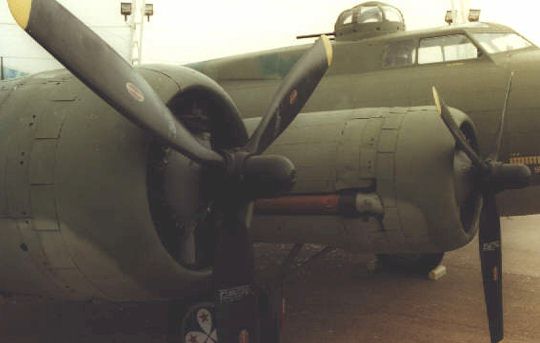
Good shot of the starboard engine nacelles and prop hubs. Note the engine crankcases are painted light(ish) gray. And also the stencilling on each of the prop blades. Photo: Bryan Ribbans
Port wing between the two nacells showing the air intakes and the rubber de-icer boot. Photo: Bryan Ribbans
A poor shot this one but it shows the wing leading edge landing light located outboard of the outboard port engine nacelle. There are two lights in here, one big and a smaller one in the top right-hand corner of the aperture. It may be a reflector rather than a light. Photo: Bryan Ribbans
Port side of the fuselage from behind the wing root. Note the blotching of the medium green camouflage and the sharpness of the trailing edge. Photo: Bryan Ribbans
Those thin trailing edges again and now you can see the other wheel hub cover in the blue background.
Photo: Bryan Ribbans
Rear fuselage and tail
From the waist to the tail.
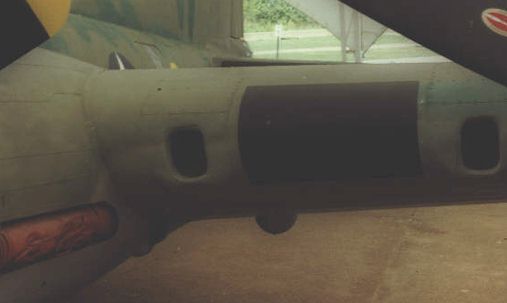
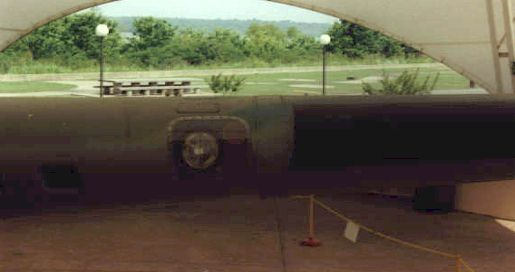
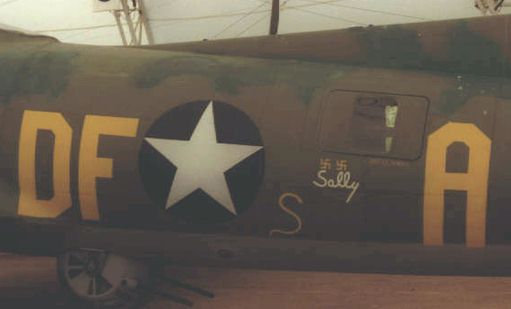
Port amidships showing the ball turret. The medium green blotching can be clearly seen here as can the code details together with the kill markings painted under the gunner’s window. Photo: Bryan Ribbans
Taken from behind the port rear tailplane this photo shows up very well the very matt finish applied during recent restoration. It also shows off well the clean lines of the airframe. Photo: Bryan Ribbans
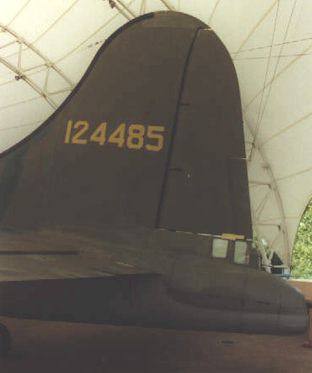
Port tail fin. There is a distinct gap between the rudder and the top of the gun position.
Also look how sharp the trailing edges of the tailplane are. The white coloured ’patch’ is a rudder lock.
Photo: Bryan Ribbans
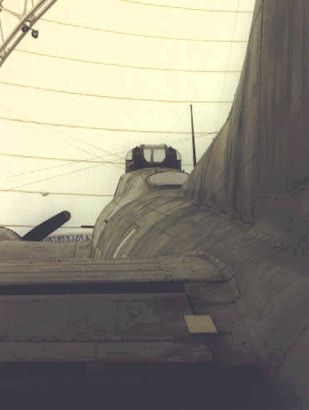
Looking along the airframe forward; note the rivit details and how much they protrude into the airflow.
Again, the yellow ’patch’ is a lock for the elevator. Photo: Bryan Ribbans
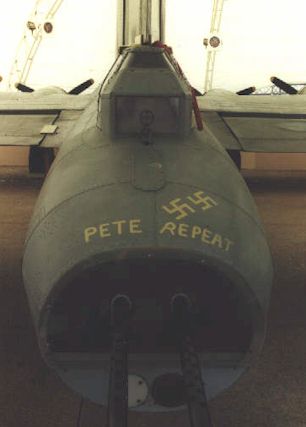
Tail shot; note the twin postion lights under the guns, the ring gunsight and just how far the gunner was from the front of the aircraft. It’s a long way forward. His window is also very small. All in all not a place I’d want to spend my working day! (And we think WE have it bad today). Photo: Bryan Ribbans
This article was originally published in IPMS Stockholm Magazine in June 2000.
