Bang for the Buck Part VII
by Rafi Ben-Shahar
As my Bang for the Buck series continues, I find it compelling that potential topics do not cease to pop in. All that I need to do to find one is to scan my laden display cupboards!
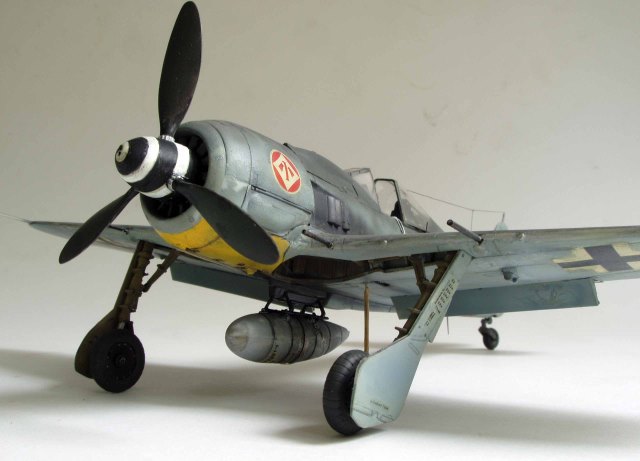
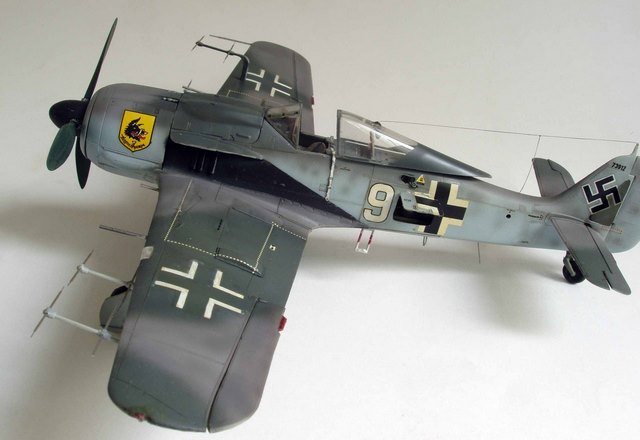
The Dragon Focke-Wulf Fw 190A/F variants became Bang for the Buck products ever since Eduard produced their 1/48 version. The Dragon kits are currently available for about 1/3 of the price of the Eduard kit. Not only that you get a bargain kit; the the quality and detail embedded in the Dragon kit is still very good by any standards. Personally, I find the Dragon kit superior to other Fw 190 kits in 1/48 scale simply because over the years I got accustomed to its features. Admittedly, I also refuse to to be overly impressed by the perfectly crisp panel lines and fine moulding of the most modern kits just for the sake of it.
Dragon aircraft kits in general are a chore to assemble because of the stubborn seams, joints and sub-components that refuse to rest where they belong. Nonetheless, war era aircraft never had the smooth surfaces and sleek lines. Therefore, tackling the Dragon kits using different construction methods will result with highly diversified texture patterns that reflect well the actual condition of the real aircraft.
Since the Dragon Fw 190s became abundant in the market, the opportunity to dwell on the seemly endless camouflage patterns and variant heterogeneity should not be missed. Using little aftermarket products, or none if that is your choice, it is possible to build a challenging model that has a unique appeal and looks very much like the original down to the 1/48 scale.
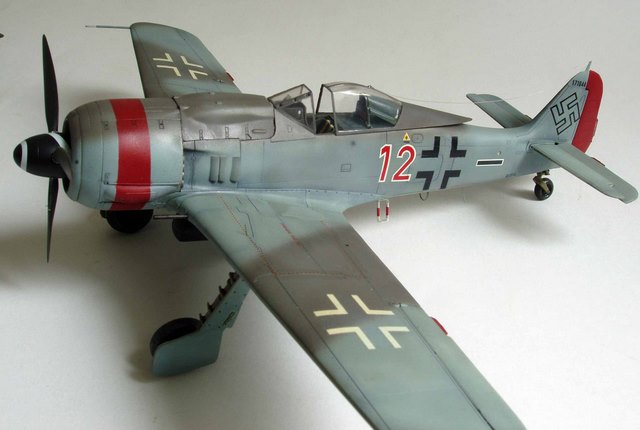
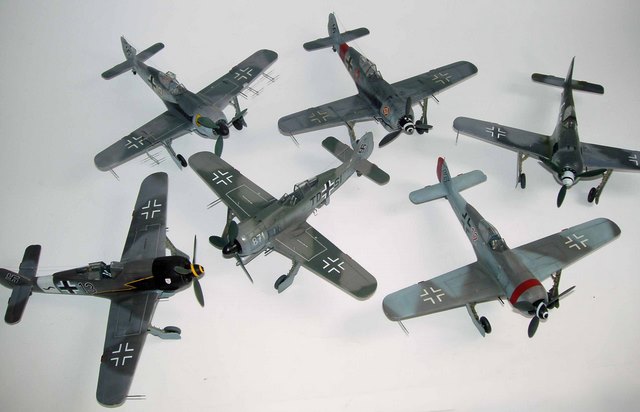
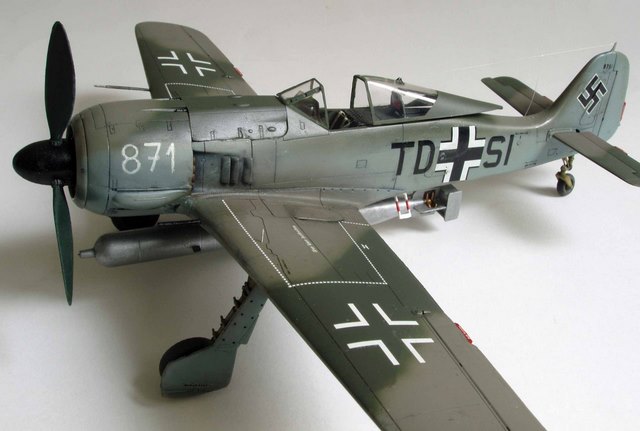
For photographs in this article, I picked a group of six Focke Wulf models that were the easiest to reach as I opened my display cabinet – I have many more of them! As you may observe, some mistakes and glitches are there to be fixed but I retained those (because I was lazy and) to demonstrate how good the models look even if they are in a less than perfect condition.
Construction tips
Here are some points to consider when building the Dragon’s Fw 190A:
- Building earlier A variants (A-5 to A-7) requires considerable effort in hiding later panels and access hatches.
- Cockpit components are sparse and are quite hidden from view due to the small cockpit aperture. Basically, you may skip enhancing the cockpit interior, either by scratchbuilding or using related aftermarket products.
- Seatbelts can be made from masking tape, aluminium foil, etc. if you happen to acquire one of the more recent issues of the kit without photoetched parts.
- The joint between the fuselage and wings can be made to Tamiya-style fit if you include spacers between the fuselage walls and the installed cockpit tub.
- Elevators were generally in the upwards position when the aircraft was parked on the ground.
- The only place where I use putty extensively is the area between the engine cowling and the wing. Contrary to the common opinion, putting the cowling parts together is not a particularly difficult task.
- The windscreen, canopy and fuselage joints are prominent. Canopy may look as if it is suspended in the air, but I tend to leave it as is just in case I would want to revamp the model. In general however, the real aircraft was not streamlined and it cannot be called a Focke Wulf if it doesn’t show any scruffiness.
- The tail wheel is well detailed. IT may look a bit too tall, but this was a typical Focke-Wulf posture.
- The wheel wells of the Dragon kit are better detailed than Eduard’s, but the parts are poorly designed and leave much room to be filled. I usually, ignore this defect because the area is relatively hidden from view.
- Angle of main wheels is tricky. With Trimaster’s original white metal parts, the construction process felt like a breeze, but the Dragon version has plastic struts which require careful alignment.
Happy Wurger modelling!
This article was originally published in IPMS Stockholms Magazine in december 2007.

