Modelling the RX-79G Gundam
by Fernando Cuenca
I have been scale modelling on and off for about 10 years, during that time I only modelled WWII bombers in 1/48 scale. This suddenly changed after a trip to the U.S. last year, where I discovered a whole new world of models. It is called Mecha modelling. Basically, Mecha is about modelling giant robots, usually based in some anime (Japanese animation) series. That’s how I found out about Mobile Suit Gundam, and from the beginning I was blown away by the designs of these mechanical characters.

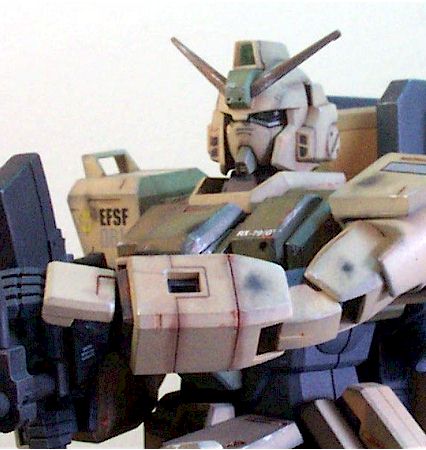
The subject of my model, type RX-79[G] is a mass production ground combat version of the legendary RX-78, and basically it is a downgraded version of it. What I like about the series is that the robot is only a war machine, not a character in the story, so you always see these being destroyed or repaired. It is one of the main mechanical units of The 08th MS Team OVA.
Picking the colour
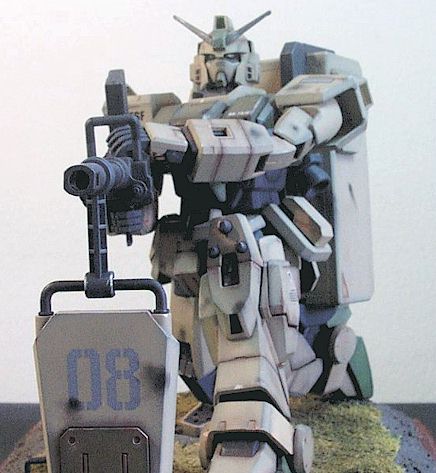
The original colour scheme provided with the kit was mainly white with blue, red and yellow parts. Since I wanted it to have a more military look, I scanned the line art that comes with the instruction manual and coloured it in the computer, until I found one scheme that I liked. The result was a kaki, olive, green and dark brown combination as shown in the resulting digital sketch.

The kit
The model kit is manufactured by Bandai of Japan, and it belongs to the Master Grade series, which comes in 1/100 scale (the amount of science behind the science fiction is what lets these models have a scale). It is magnificent in terms of moulding technology and comes with complete internal structure detail.

The kit has more than 300 parts. Approximately sixty of them are poly cap joints which let the model be fully poseable. The hands fore example are very poseable, having independent index fingers for ”finger on trigger” purposes. It also has opening cockpit hatch with cockpit detail and a variety of weapons.
The kit can really be snapped together without using glue, but in order for it to have a more realistic look, glue must be used and seam lines must be filled.
The only downside of this kit is the lack of waterslide decals. It comes with a dry transfer sheet and a transparent sticker sheet, which gives good results but the stickers are too thick and the edges are very noticeable. I recommend using spare decals from other kits or printing your own custom decals.
Assembly
The assembly went smoothly because of the kit’s superior quality. 
Filling of seam lines was almost not necessary, as most of the armour parts have been moulded in one piece. Only a few number of ejection pin marks had to be filled or sanded. Overall, the assembly was beautiful and it reflects the engineering effort put into the kit. The only glitch was the backpack holder which had to be corrected with lots of putty, as one half was at least 0.5mm wider than the other – probably due to some unpredicted heat expansion of the mould (see picture).
The right knee joint was slightly modified, giving a few more degrees of rotation in order to achieve a more natural pose. As a result of this modification, the poly cap joint become visible, so I covered it with sheet styrene.
Painting
I have a short pictorial on the painting and weathering phase, so bear with me as the pictures download.
The painting phase commenced by pre-shading my model with flat black on all edges and joint lines:

Parts moulded in coloured plastic were first given a coat of Light Grey Primer

Then the base coat was given, using flat enamels

For the eyes, in order not to lose their crystal look (the part is moulded in clear plastic) green vitral paint was applied to the side that will remain on the inside of the head, giving a glowing look under some light conditions.

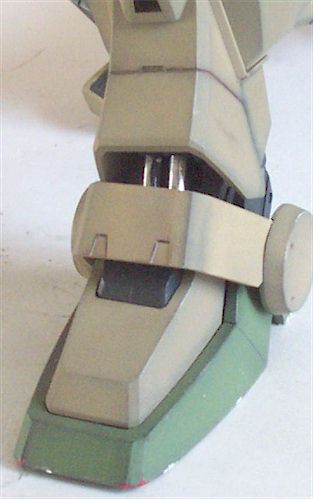
Alclad II Chrome lacquer was used in hydraulic cylinders on the ankles.
Weathering
In order to apply a real weathering job to the robot, I just used the well-known armour vehicle weathering techniques, as I think that the Gundam is just an armoured vehicle of the future.
I began with enhancing selected panel lines using a 2B pencil. Rust was then applied here and there by drybrushing different tones of an orange-dark brown paint mixture. Chipped paint and scratches were simulated with the same technique but using silver paint.

Then pastel chalks were used (my first time using them) to represent general dirt and heat damage. Everything was sealed with a clear flat coat.

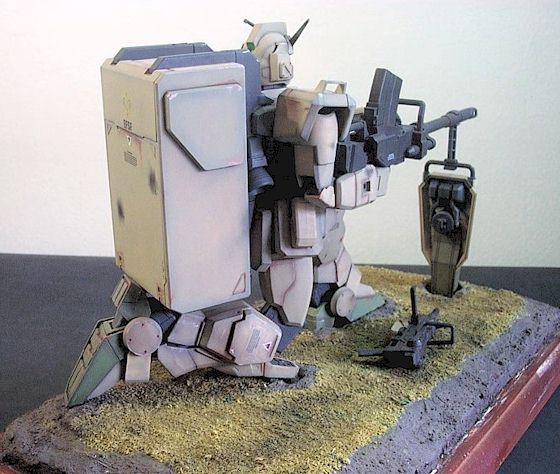
Base
The base was built using the guidelines from Making Diorama Groundwork by Christopher Holland. The grass was made from fine sawdust painted with different tones of green, yellow and olive.

Conclusion
What a superb kit! Bandai’s MG RX-79[G] features lots of detail and a great deal of accuracy. Building it is not only fun but a wonderful experience. Attention must be paid to the paintjob, as it will either enhance your model and make it look like a real war machine or just make it look like a toy. Let’s just hope we’ll see one of these mechanical titans in the real world someday.
This article was originally published in IPMS Stockholm Magazine in August 2003.