by Anders Isaksson
photos by Martin Waligorski
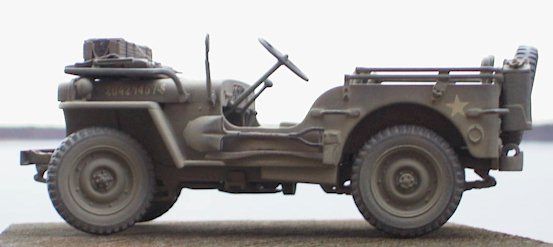
I am no expert on the Jeep but I was happy to see a new kit of this classic in 1/35th scale. The old Tamiya kit had a few errors and while the Italeri kit certainly is better, I think the recent Tamiya offering has slightly sharper details. One advantage of the Italeri kit is that it provides a canvas roof as well as a trailer. These accessories are unfortunately missing in the Tamiya version.
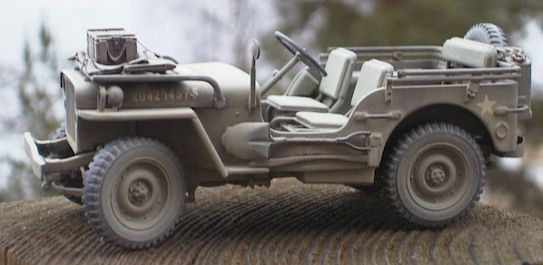
The basic Jeep was built straight from the box and no extra details were used. However, to add a little interest I like to turn the front wheels of my vehicles. This Jeep was not to be an exception.
This surgery was a quite simple affair, only 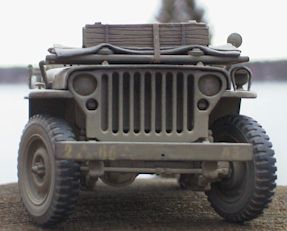 requiring cutting the front axle apart and re-attaching the outer wheel axles in a suitable position. I was a bit worried that the tiny points of contact would make the entire assembly a bit fragile, but a good amount of epoxy glue helped me out.
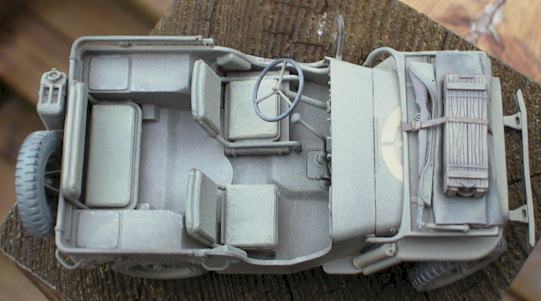
The model was airbrushed with Model Master Acrylic Olive Drab for the main color. The seats were painted Army Green using Humbrol. The tires were painted with a mixture of Humbrol Asphalt and Black. After a wash of heavily diluted black oil color the model was dry-brushed with Humbrol Olive Drab lightened with white. Humbrol Aluminium mixed with a small amount of Raw Umber oil color was used to simulate worn metal. The mixture was applied mainly to the inside of the model with a fine-tipped brush.
At this stage the markings were applied. I ignored the water slide decals provided in the kit and used dry transfers from Scale Model Accessories instead. I was a bit careless with these decals and managed to destroy a few during application. This forced me to use different styles of stars on either side of the Jeep body. Ah well, I hope it is not to noticable…
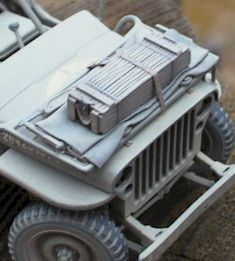 I wanted to include a piece of canvas on top of the windshield. This was probably used used to protect the glass when the wind-shield is folded. I also wanted to have an ammo box on top of the wind-shield, as I had seen in a war-time photo somewhere.
A piece of very fine silk was used to simulate the canvas. The piece was cut to size, making sure it was big enough to be folded and creased. It was then soaked in white glue diluted with water and put in place on the windshield. While it was still wet I put an ammo box in place to make sure it would sit naturally on the canvas. When satisfied with the position of the box I removed it and let the silk dry thoroughly.
A base coat of Humbrol Dark Earth was followed with a wash of Raw Umber oil color and final dry brushing with Humbrol Khaki Drill. The Verlinden ammo box was painted in the same way and glued to the canvas. I finished this assembly by adding a piece of brown-painted masking tape to simulate a leather strap securing the box to the windshield.
The final weathering was done with the airbrush and pastels. I loaded my airbrush with heavily diluted Model Master Acrylic Sand and made several passes over the entire model to achieve a dusty overall finish. The wheels tires recieved the same treatment, but I dry-brushed the tread with the mixture of gray and black used to paint the tires. I concluded the weathering by applying sand-colored pastel dust.
This article was originally published in IPMS Stockholm Magazine in June 2000.
