by Magnus Fridsell
Construction

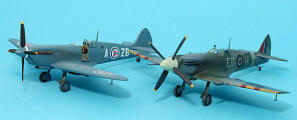
Here is the recent Xtrakit Spitfire Mk. XII in 1/72.
Xtrakit Spitfire in the Box
Here is the box art for the kit. It’s not the best I’ve seen but who cares really…:

The box contains one sprue of well moulded plastic parts. The major components feature delicate engraving, nice details. A quick inspection of the parts reveals two kinds of wheels, one with ordinary hubs and one with the plain ones that were used on early Spit XIIs. There is also a choice of fixed or retractable tail wheel. What goes where to which decaling option is clearly pointed out in the instructions. There are also two very oversized teardrop-shaped bulges fitting over the wheel bays. Don’t use them, to my knowledge they were never present on the Mk. XIIs.

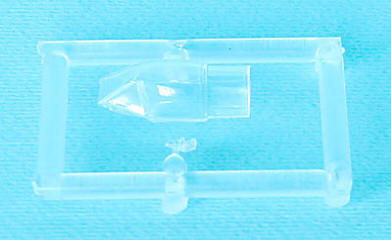
One minor disadvantage is that there is only one canopy in the kit and that one is cast in one piece. If you would like to do the kit with an open cockpit, you can use the windscreen and the rear glazed part of the fuselage from the kit carefully separating the parts with a razor saw. Then substitute the sliding hood with a vac-formed canopy from Falcon.
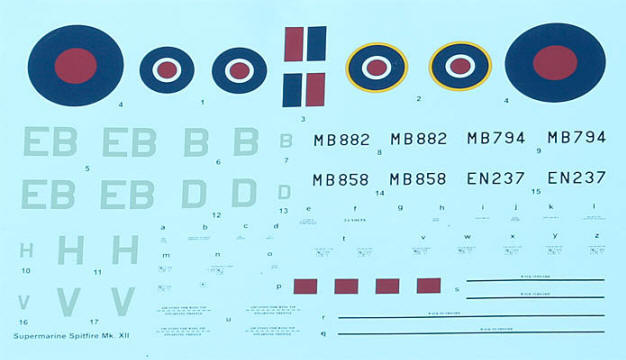
And a decal sheet. Decals are nicely printed for four different aircraft from No. 41 Squadron. Considering that there were only two squadrons operating this variant of the Spitfire, it’s a pity Xtrakit couldn’t include any markings for a No. 91 Squadron aircraft.
The verdict before assembly is that unlike the earlier Xtrakit Gloster Meteor, this kit was not produced by MPM, but appears to be made by Sword. As for fit: he who lives will see….
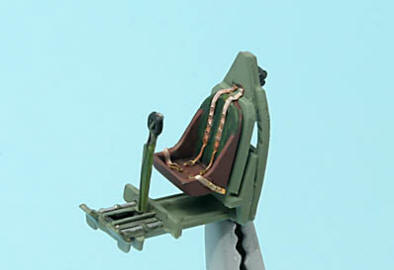
Cockpit interior
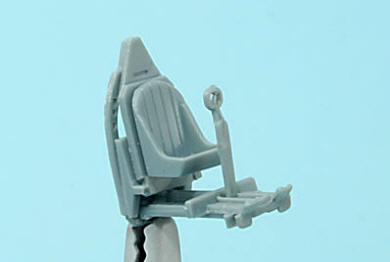
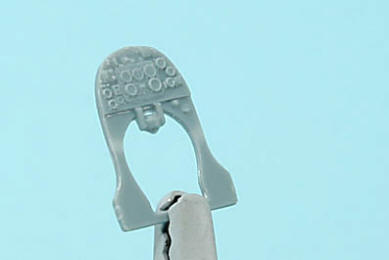
Construction starts with the cockpit. Very nicely detailed for being injection-moulded and more than adequate in detail considering the rather miniscule cockpit opening of a Spitfire. I did add seat belts and some other bits and pieces to the interior but I can assure you that none of this can be seen under a closed canopy!
Fuselage
With putting together the fuselage halves comes a moment of truth regarding the kit’s fit. Never let the looks of a kit betray you! Moulding quality and surface texture is nothing short of excellent but fit is not Hasegawa…
I had to make a few adjustments to the nose as per photos below. Also, the gap between the fuselage halves was filled with superglue to make sure that it doesn’t crack up or deform later.


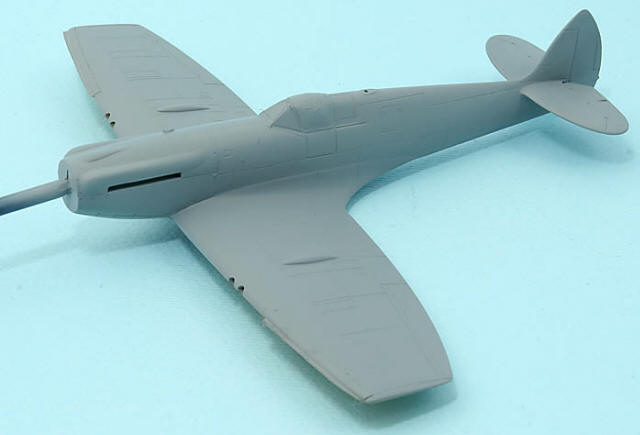
Wing
Attaching the wing to the fuselage requires more filler, I used Milliput. The airframe was jigged using two pencils to get the wings level and the stabilisers attached at right angles.

As you can see, I did use a bit of putty both on the wing roots and on the stabiliser joints. I probably would have needed less around the wing roots if I had added a spacer in the fuselage, which I didn’t… The stabiliser joins were pretty hopeless with two contoured edges that should fit together, but their profiles didn’t match… Some filing helps but it far from achieves a perfect fit!

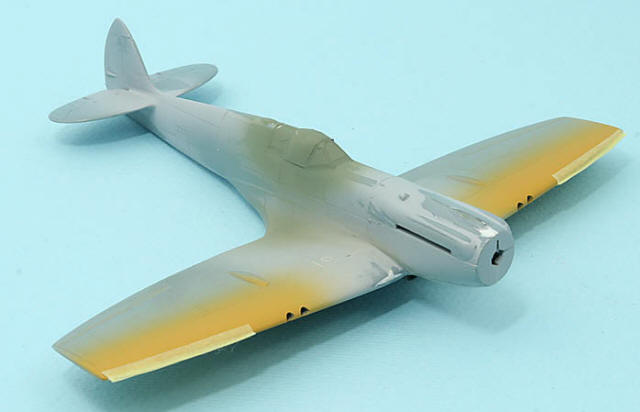
Painting
After priming the model with a coat of grey base paint, the yellow leading edges were painted and masked off. I used Polly Scale Reefer Yellow. It is a railway colour but it nevertheless has excellent opacity. Otherwise yellow is a pain to paint, have you ever tried using Gunze yellow? It never covers…
Inn the next step the entire model received a coat of Ocean Grey. I used Agama paint this time with some Xtracrylix white added to lighten it up a bit.
The camouflage pattern was then masked and painted. Some day I’d have to try some other method because all this masking is boring and tedious and it isn’t especially exact either. Paint demarcations on the Spitfire XII were sharp so freehand airbrushing isn’t a good option.

Applying the coat of Dark Green was a matter of minutes of airbrushing and de-masking…

I didn’t like the rather green shade of Sky code letters from the decal sheet. Besides, it would be hard to match the colour of the fuselage band and the spinner. Therefore I cut a mask for the lettering from tape, using a scan of the decal sheet as a template and cutting with a sharp scalpel blade and a steel ruler. The letter B looks a bit awkward but some minor touch-up with a brush will make it look as good as the decals!

The decals were added in one evening session. They were really nice; thin and pliable especially when using very hot water (I have come to the conclusion that using water from the tea pot can overcome the stiffest and most unwilling decals).

Weathering
I have always been a bit of a coward when it comes to weathering but I decided to be a little braver with this one! I started out using the airbrush with clear tinted with a drop of grey to even out the finish a bit. Then I proceeded with Tamiya Smoke roughly along the panel lines. And when I had been painting for an hour or so (It is dangerously fun!) and realised that the model probably lost a bit too much contrast, it was time to stop. A bit of touch-up of the green areas using Agama paint heavily thinned with Tamiya thinner and the grey lightened a bit using dry pastels made the weathering stage complete.

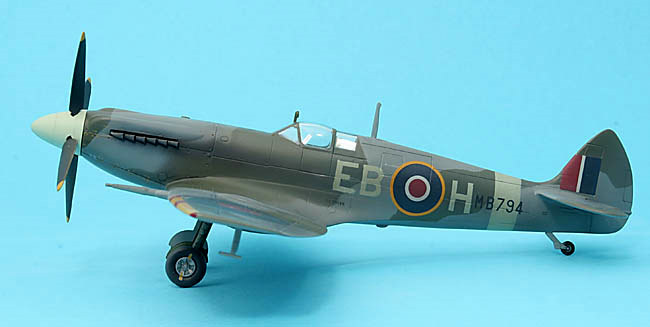
Conclusion
So here it is, an almost out-of-the-box Xtrakit Spitfire. The only added parts at the later stage were the undercarriage doors coming from an old Eduard set of etched parts. It was an enjoyable build of this unique Spitfire variant that can be recommended to anyone!

This article was originally published in IPMS Stockholms Magazine in two parts in January 2008