How to Actually Finish a Model in 24 Hours
by Kuba Plewka
English translation by Martin Waligorski
Back to Aircraft In a Day – Part 2 (Painting)
My project of getting a model finished in 24 hours flat continues. We are now 17 hours into the project (see part 1 and part 2 of this article), with another 7 hours to go. At this point the model is painted, so it is time to commence with decaling, weathering and all the finishing bits.
16:00 hrs
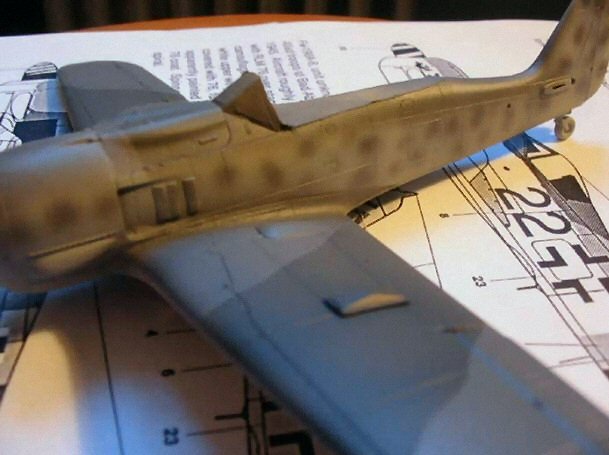
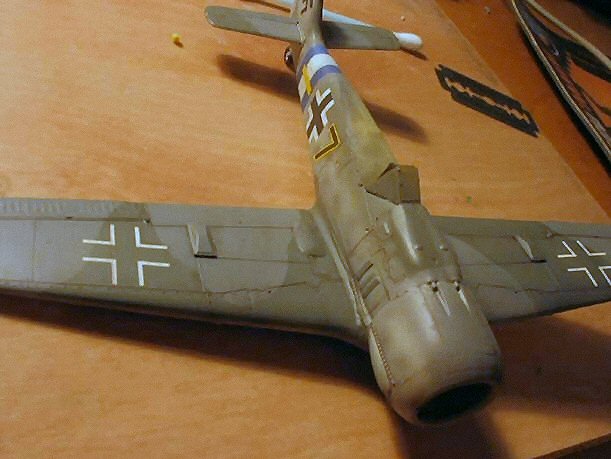
By 4:15pm the masks have been removed and the camouflage is ready, including the freehand-applied mottling. Yes, the splotches of the latter are oversized but in an express project such as this I chose to ignore it.
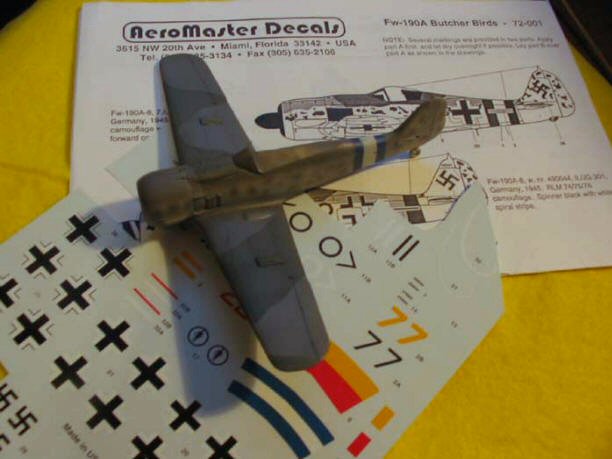
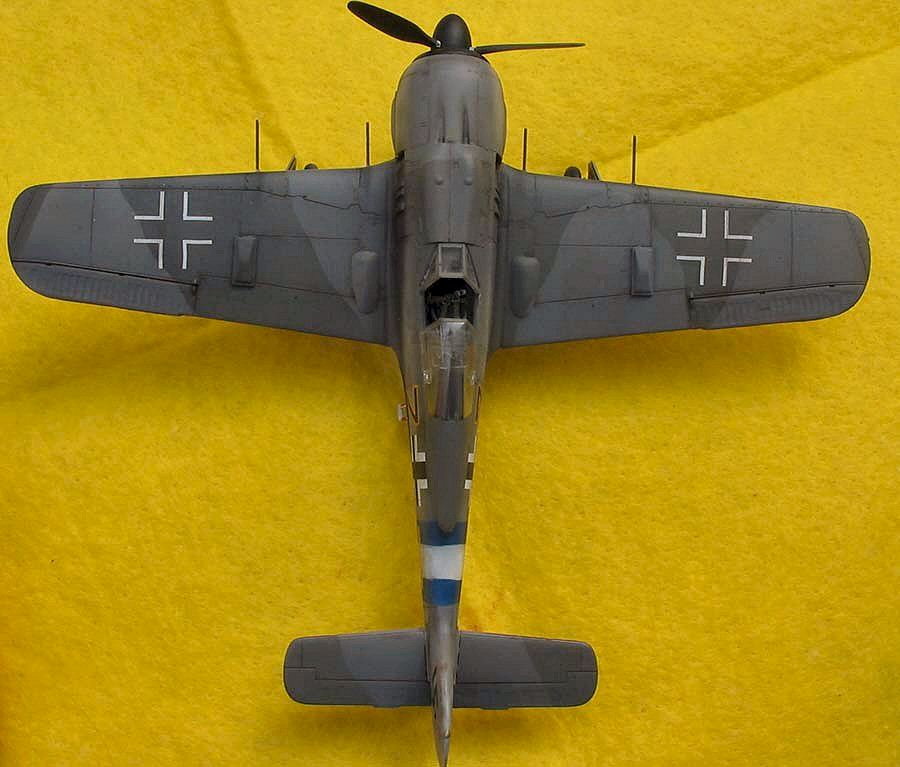
So long the camouflage scheme is generic for almost any Fw 190 A-8, so only now I have chosen the markings from an old Aeromaster decal sheet. It will be a machine of 7./JG300 located in Altenberg, 1945
Another problem creeps into the project: I’m getting hungry! Perhaps a quick Pizza and a beer will do.
17:00 hrs
Although the decal sheet contains the Reich’s Defence band around the rear fuselage, I chose to paint it for better effect.
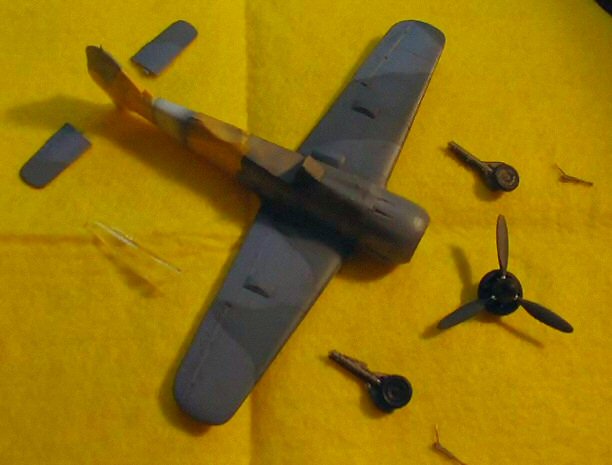
Everything is coming together now. Undercarriage, propeller assembly and the airframe.
It’s 5:10pm an decaling is about to begin. The entire model will now be sprayed with a coat of clear gloss to provide smooth surface for the decals.
18:00 hrs
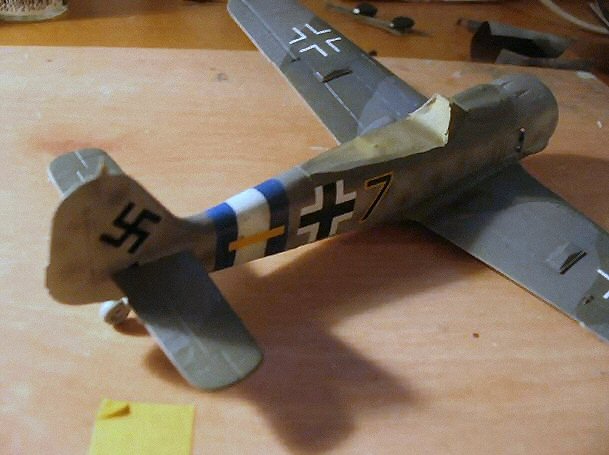
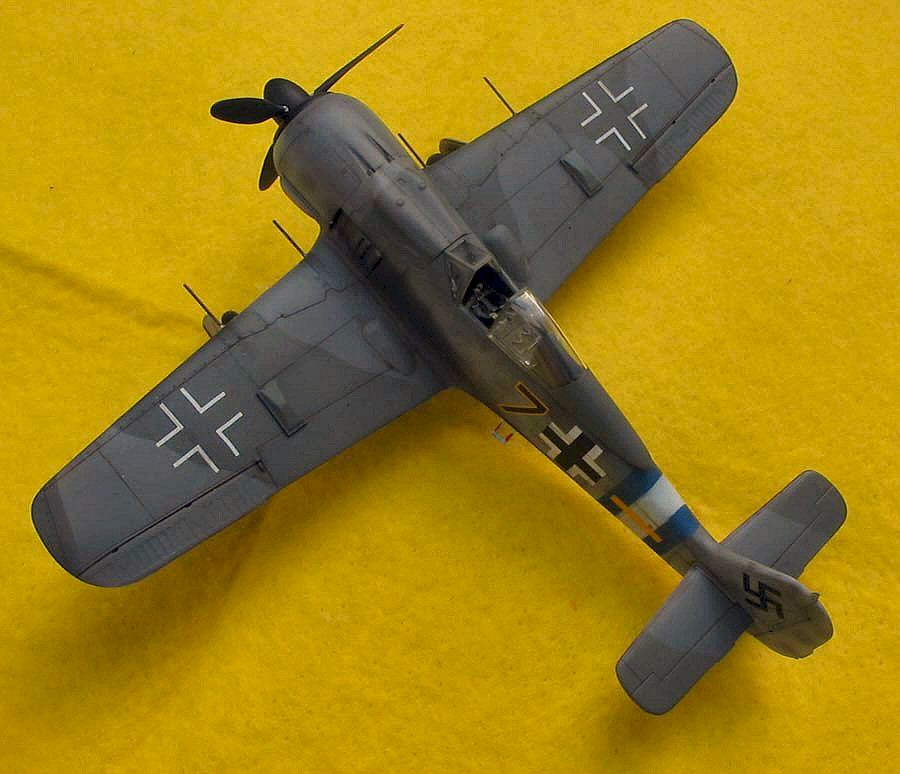
The time is now 6:55pm and markings for ”Black 7” are in place. It’s time to let the decals dry thoroughly after the application of decal solvents. In the meantime, I will turn my attention to the moving portion of the canopy, head armour and brush-painting of a few remaining details.
Three hours to go!
19:00 hrs
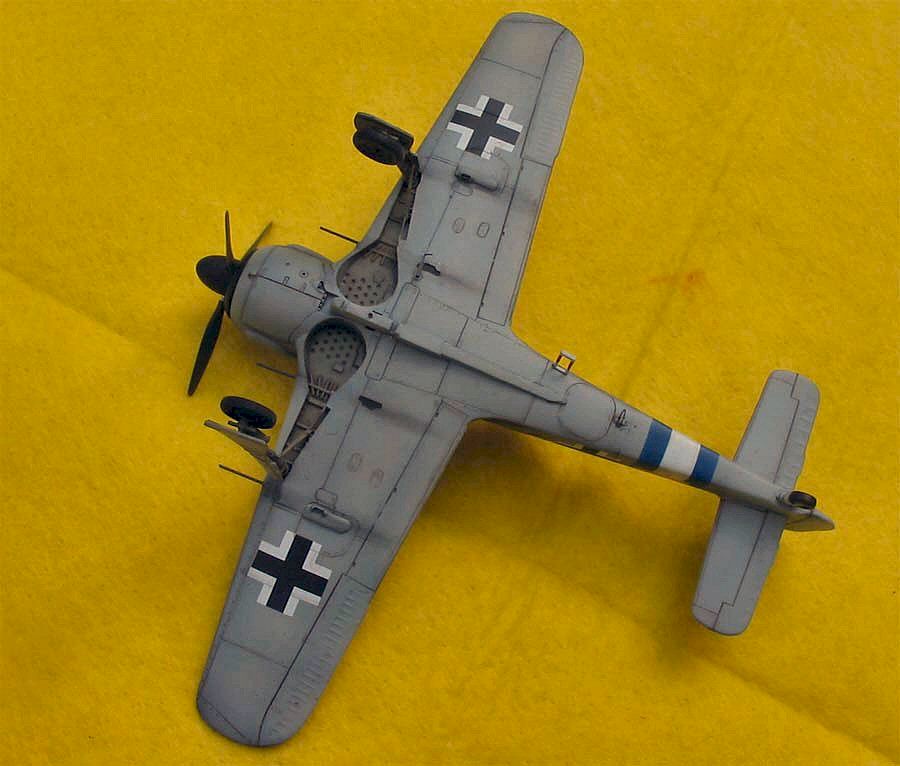
For weathering, I run a wash of Vallejo acrylics along panel lines. I’m new to this technique but the results look good, at least to me. I’m stopping here and will apply more weathering with pastels.
21:00 hrs

At 9:15pm with only minutes to go: she’s on her wheels now! Only a few bits are missing: antennae, gun barrels, pitot tube. I’ll need to rush with these to complete the model in time!
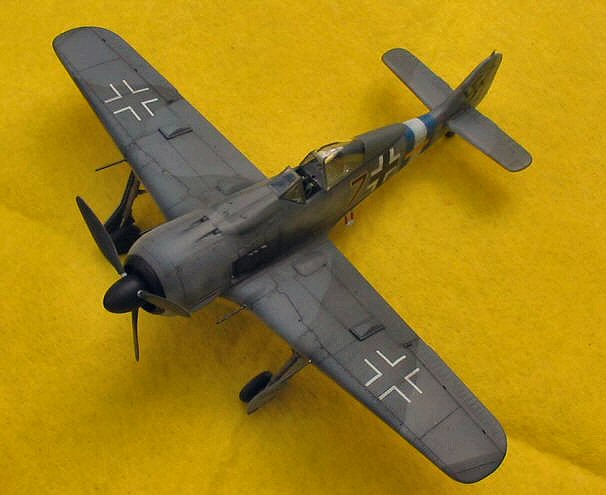
At 9:47pm, three minutes before deadline, she is READY!
I’ve Done It!
Looking at my model, it does not compare favourably with the best I have built – sorry but 24 hours is just what it is. Nevertheless it is a decently looking model and I am very pleased with the result I have achieved.
According to the initial plan, I have included all the tasks I’m used to perform on my ”ordinary” models – only each step has been utterly simplified.
Reading the above account, readers may perhaps get the impression that I am somehow biased towards Aeromaster products. Indeed, paints, decals and varnishes used in the project came from this company. I felt that using decals that I’m familiar with was essential for success, and extremely quick drying time of Aeromaster acrylics allowed for painting the entire model in one go.
A new technique to me was accentuating panel lines with a wash of Vallejo acrylics. I like the effect and will certainly use it in my future projects.
The factual building time was almost exactly 17 hours (plus 7 hours overnight sleep). The work was intense, uninterrupted and required constant focus to maintain the pace.
Last but not least – it was a lot of fun, highly educational experience and an undertaking that I can wholeheartedly recommend to others! It feels good to say – I’ve been there, done that.
This article was originally published in IPMS stockholm Magazine in February 2006