How to Actually Finish a Model in 24 Hours
by Kuba Plewka
English translation by Martin Waligorski
Many internet discussion groups devoted to modelling promote various group projects. Usually it’s about building a certain subject which appeals to many. Some time ago, a different idea popped up on a Polish discussion forums devoted to modelling.
Many modellers cannot afford time to exercise their hobby very frequently and are often frustrated about the slow progress of their modelling projects – indeed, there seems to be a big difference between building models and actually getting them finished. A question was raised on the forum how much time does it really take to finish a model. Step by step, the discussion resulted in starting a group project – getting a model ready in one day – 24 hours.
Here is an account from my contribution in this project. As we follow the progress, you will be able not only to follow how the different steps were performed, but also in which order and more importantly – how much time was spent on different activities. It is my hope this will help those frustrated modellers on tight schedule to better adjust their priorities in their next project.
The story starts one day well in the evening.
Preparation
From the outset, I decided that the challenge wouldn’t be won unless a model is built to a good, or at least decent standard – perhaps not the best of my ability, but comprising all the elements of the art. Just putting together a kit and some sloppy brush-painting wouldn’t do!
On the other hand, the time frame did not leave room for conversions or extensive detailing, so I needed a modern, well detailed kit to start with.
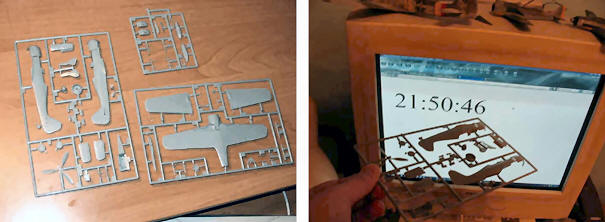
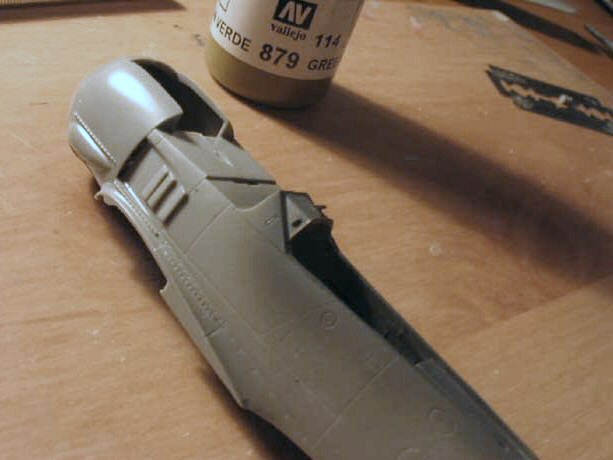
The choice of a kit was an important initial consideration. It should go together easily and represent a familiar subject so that I could avoid dwelling in references. My choice fell on Revell’s Focke-Wulf Fw 190 A-8 in 1/72 scale. To the right, evidence of time – yet untouched kit sprues in front of the web page displaying a web clock. As you can see the time is 9:50pm – it’s going to be a long modelling session!
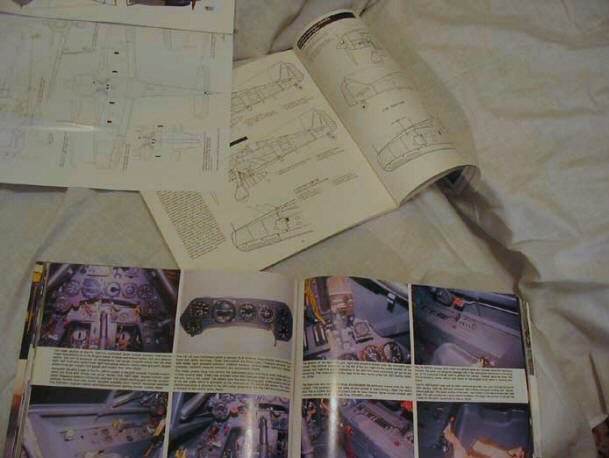
Did I say that building goes faster without too many references? Well I laid out these on a couch beside my modelling table just in case!
22:00 hrs
By 10:30pm, all major components have been separated from the sprues, cleaned up and laid out for assembly as shown. Apologies for the blurry photo.
I intend to build this kit almost out-of-the-box, with one deviation, and that is replacement of the canopy hood, which in Revell’s kit is moulded very thickly and is difficult to glue cleanly to the fuselage. I will replace it with spare one from the Hasegawa kit. Therefore, a rear spine of the canopy which has been moulded integrally with the fuselage halves was sawn off.
My plan at this stage is to assemble and paint the cockpit and close the fuselage halves during the evening. It does seem manageable!

I also dry-fitted the major components to assess the quality of the joints and the work ahead. For whatever reason and to my disappointment, this exercise revealed some major gaps at the upper wing roots that will have to be filled. The time is now 10:58pm.
00:00 hrs
12:15am. Almost on schedule. Cockpit parts have been airbrushed with the usual Luftwaffe black grey and dry-brushed with light grey to highlight details (see the instrument panel above). Using quick-drying acrylics – (Aeromaster and Vallejo) is essential to assure quick turnaround times.
I’m about to touch up switches and handles in the cockpit with different colours. The fuselage halves, however have been already glued together and are drying as the cockpit bath can be inserted later from below.
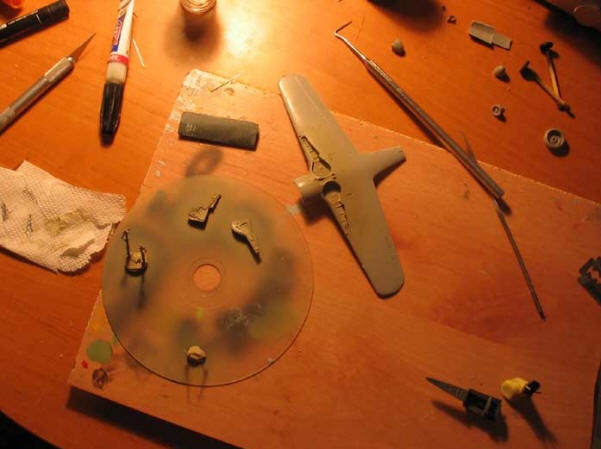
To maximize efficiency, I try to pre-paint a maximum number of components during this first airbrushing session. I painted wheel wells and undercarriage components with RLM 02 green-grey, and wheels and propeller with tire black and black green respectively.
01:00 hrs
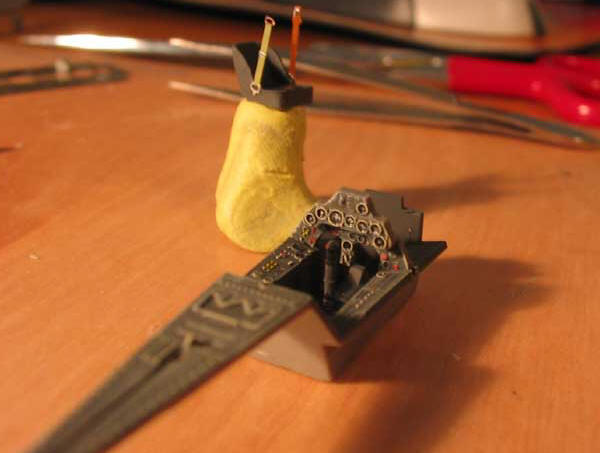
1:00am. By now I see I’m quite behind my initial schedule. The cockpit bath is now almost ready to be inserted into the fuselage. Note the pilot seat with photoetched seat belts.
So here is the complete cockpit. Despite the high tempo it is not far off my usual building standards. After this photo was taken, I also applied a wash of Vallejo No. 854 Pattina Marron diluted with water and a drop of dishwasher liquid.
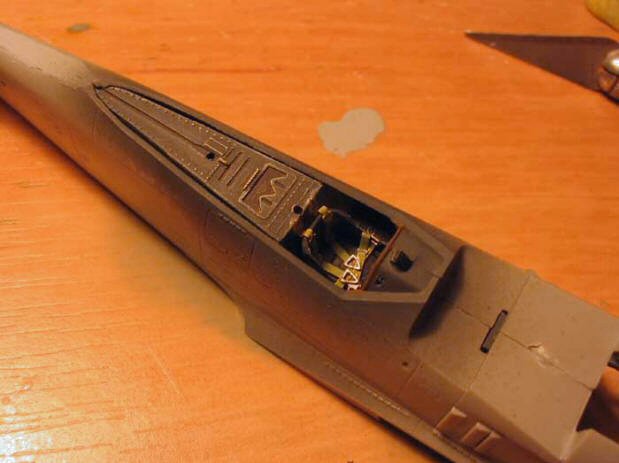
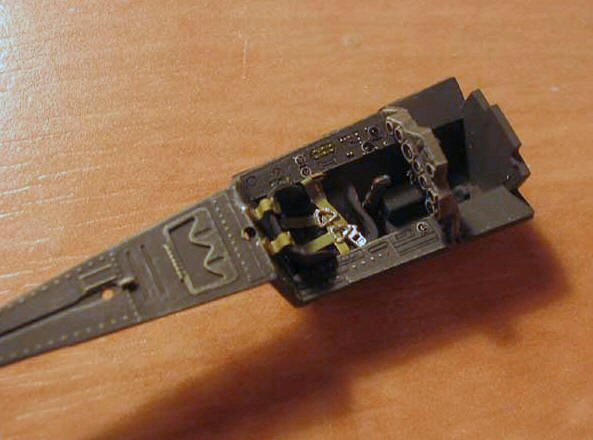
Finally the cockpit assembly is in place. There are prominent gaps surrounding rear cockpit decking, but I choose to ignore them because I know that they wouldn’t be seen when the canopy comes in place. Not putting any work into areas that wouldn’t be seen on a model is a major time-saver!
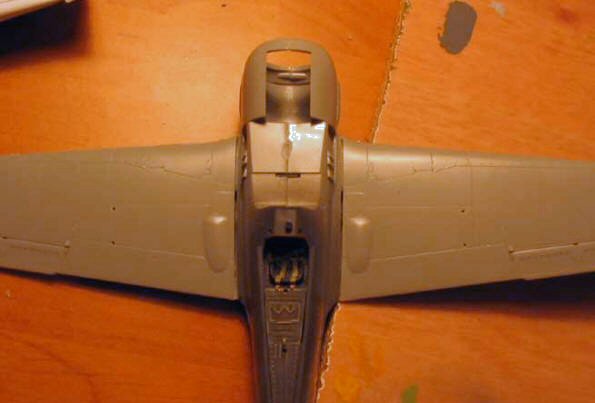
1:50am. The wings are being glued in place, followed by the fuselage gun cover. Note these wing root gaps… I usually don’t mind filling and sanding, but this is not the easiest of places to do it…
Having started this crazy project three hours ago, I didn’t realize how much fun it would be! I decide to get the puttying out of the way before closing for the night.
02:00 hrs
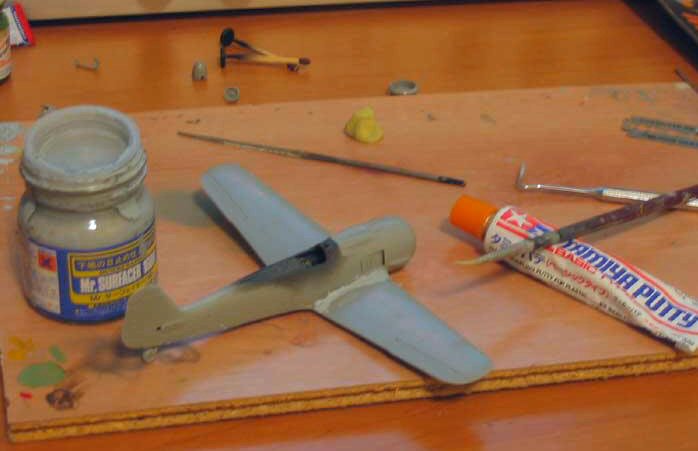
One more blurry photo, but hey, it’s coal-black outside, I don’t have time to set up the lights or use a tripod, and besides, I’m photographing for a documentary… my filling wunderwaffen are Tamiya Putty and Gunze Mr Surfacer.
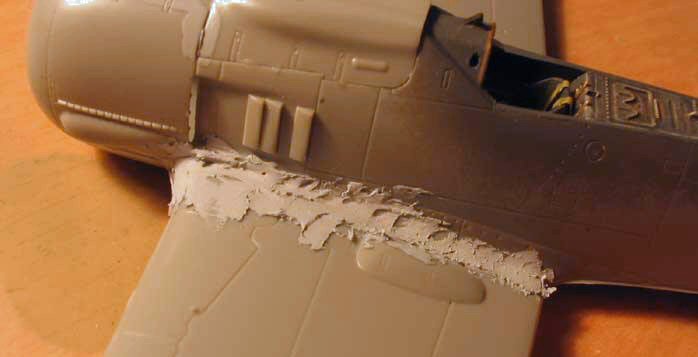
I know this looks terrible, but don’t worry, it’s part of the plan…

Revell’s rendition of fabric-covered surfaces on rudders, elevators and ailerons comes in the form of a weird, deeply recessed rib pattern. I took the opportunity and filled the whole lot with Mr Surfacer 500.
The time has now reached 2:30 am, and tiredness begins to creep in… I go to bed, leaving the putty to dry thoroughly during the night. Left for tomorrow is sanding, painting, decaling and weathering. And there is plenty of time left!
Continue to Aircraft In a Day – Part 2 (Painting)
This article was originally published in IPMS stockholm Magazine in February 2006