Junkers Ju52/3m
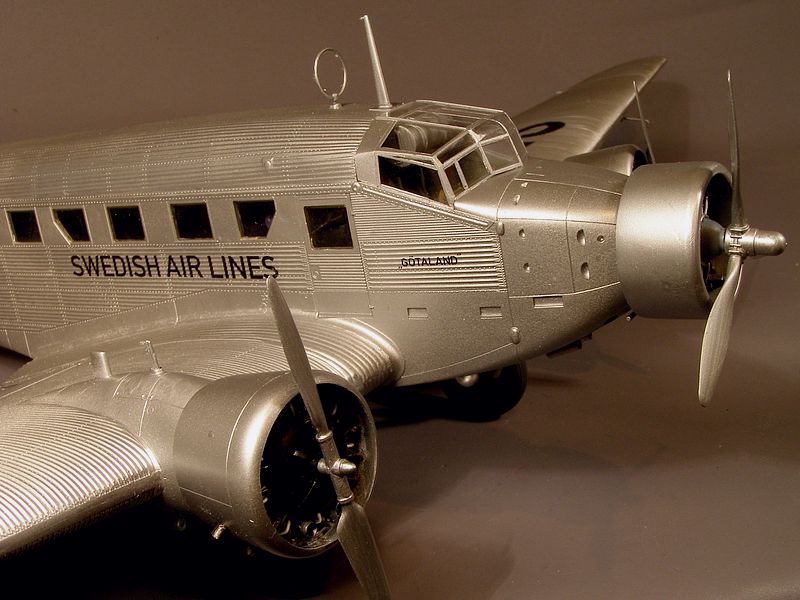
Denna Revell 1/48 Ju52 är nästan byggd rätt ut ur lådan. Jag har bara lagt till ett hjul i stjärten och en P&W Wasp centrummotor. Eftersom jag normalt bara bygger i 1/72 är detta plan enormt. Det går knappt in i sprutboxen och den är för stor för mitt fotobord. Att hantera den under bygget utan att slå ner saker på byggbordet är svårt. Men jag gillade denna byggsats.
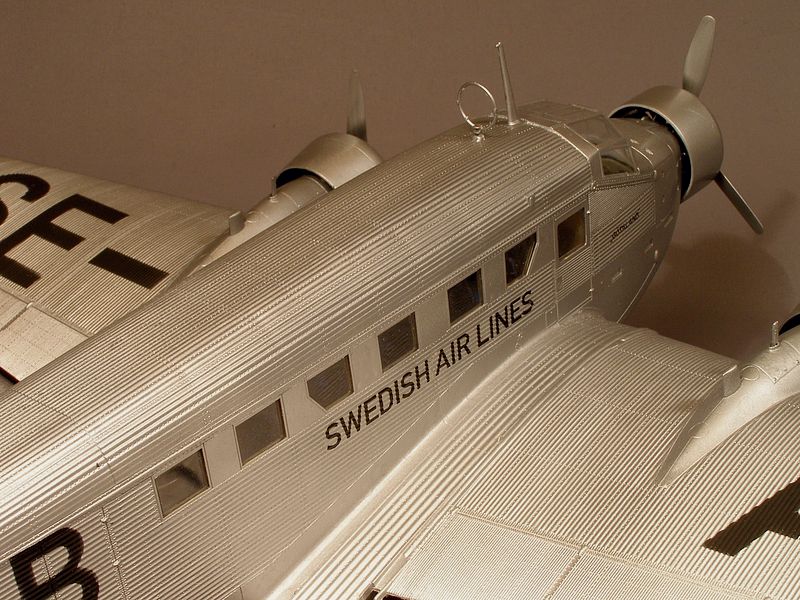
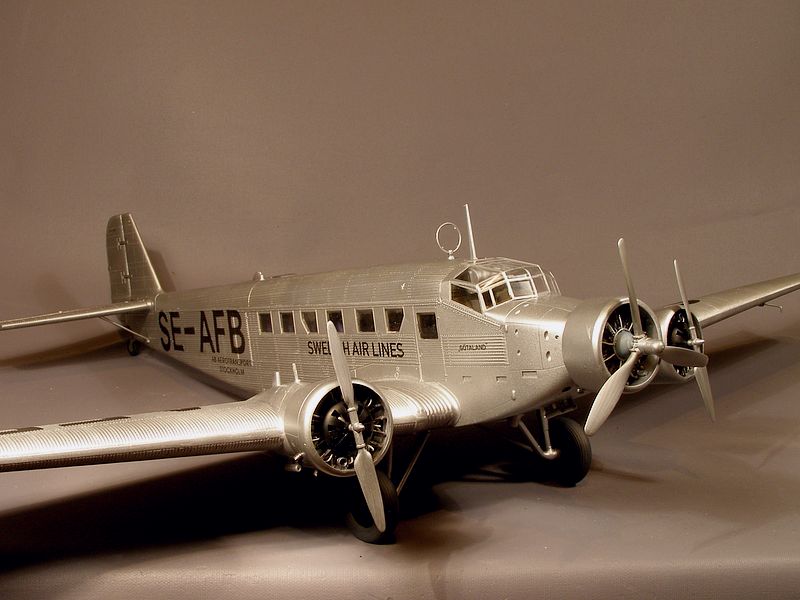
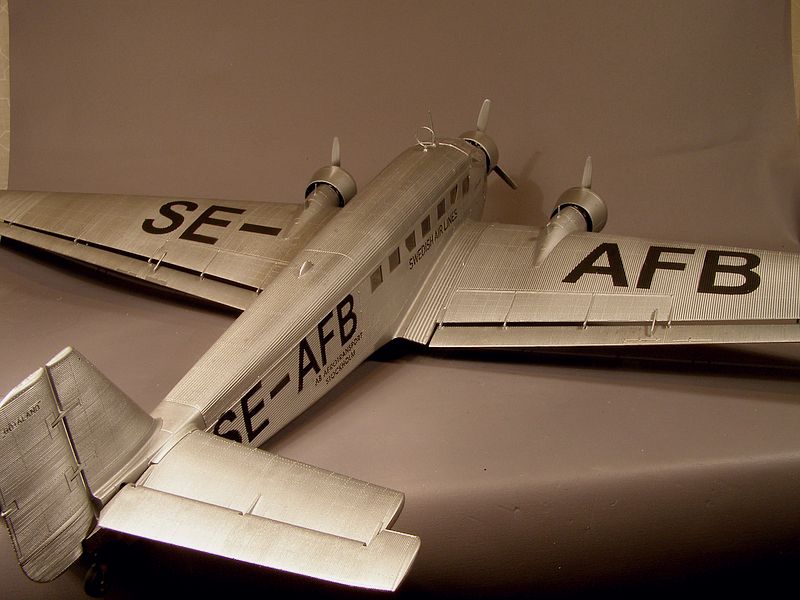
The Revell 1/48 Ju52 is close to out of the box. I just added a wheel in the tail and a P&W Wasp central engine. As I only build in 1/72 this plane is huge. It hardly fits in the paint box and it is to big for my photo table. Handling it while building without knocking things of the table is hard. But I enjoyed this kit.
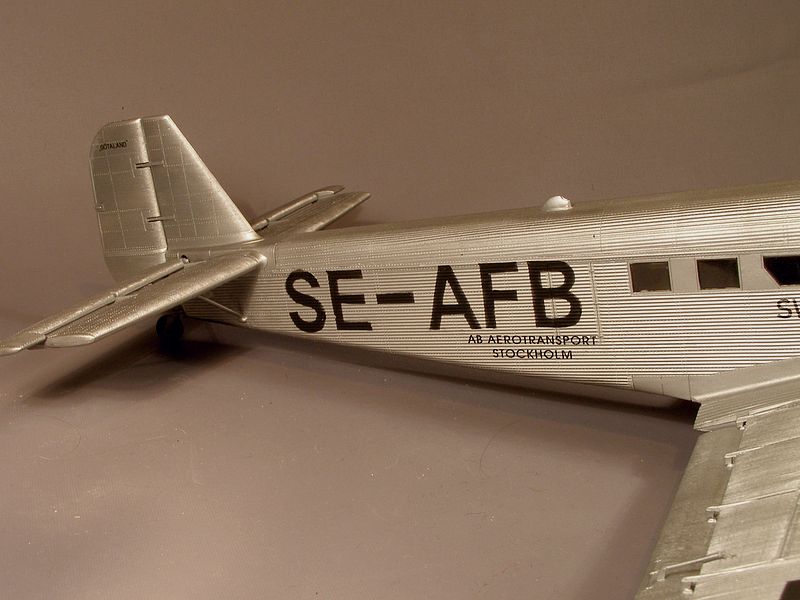
Mycket trevlig att bygga och det var skönt att bygga en civil Ju52 utan behov av omfattande konverteringar. Jag har velat bygga Revells 1/48 Ju52 som en svensk individ men motorinstallationen på dessa plan hindrade mig. Ett alternativ har varit SE-AER och SE-AES som hade de vinklade vingmotorerna. Då skulle jag bara behöva nya P&W motorer och ny lång och rak motorkåpa när istället för de koniska som används av Junkers . Men en fråga av Rob på ett annat forum om propellrar på ABA:s Junkers gav mig en ny pusselbit för de svenska Junkerna. Svaret han fick var detta: ” När ABA beställde SE-AFA/B/C/D ville de ha motorerna monterat parallellt med kroppen, till skillnad från Junkers standard 6 graders utåtvinklade motorer. Till slut gick Junkers med på en sådan installation. Men de kunde inte hålla leveranstider p.g.a. detta. Som en kompromiss levererades hösten 1936 SE-AFA/B och C med Junkers standard vingar med BMW-motorer och propellrar från Jfa (Junkers propellrar), förmodligen 3-bladiga. Centrummotorn var den P&W typ som ABA beställt med Hamilton Standard propeller. Vingar och vingmotorer hyrdes från Junkers. Under 1937 flögs de gradvis ner till Dessau och fick ”nya” vingar med parallellmonterade P&W motorer och Hamilton Standard propellrar. Den sista individen, SE-AFD levererad 30 april 1937 hade redan byggts enligt ABA:s specifikationer.
Very nice to build and it was nice to build an civilian Ju52 without the need for extensive conversions. I have wanted to build the Revell 1/48 Ju52 as a Swedish one but the engine installations on those planes hindered me. One option has been SE-AER and SE-AES who had the angled wing engines. Then I would only need new P&W engines and new long and straight engine cowling’s instead of the tapered ones used by Junkers. But a question by Rob on a Swedish forum about propellers on ABA’s Junkers gave me another piece in the puzzle of the Swedish Junkers. The answer he got was this:
”When ABA ordered SE-AFA/B/C/D they wanted the engines located parallel to the body, unlike Junkers standard 6 degree outwardly angled engines. Finally Junkers agreed on such an installation. However, they could not keep delivery times. As a compromise SE-AFA/B/C was delivered in autumn 1936 with Junkers standard wings with BMW engines and propellers from Jfa (Junker propellers), probably 3-blade. Centre engine was the P&W type ABA ordered with Hamilton Standard propeller. Wings and wing engines were leased from Junkers. During 1937 they gradually were flown down to Dessau and got ”new” wings with parallel mounted P&W engines and Hamilton Standard propellers. The last individual, SE-AFD delivered April 30, 1937 was already built according to the ABA’s specification”
Med denna information om att BMW-motorer användes tittade jag på några bilder jag har av planen innan de fick nya motorer, och jag såg nu att vingmotorn hade den slitsade frontplåten som syns på BMW motorer men centermotorn inte hade denna. Så nu behövde jag bara en ny motor, men fortfarande tre nya motorkåpor. En sak förbryllade mig dock. På en bild där motorerna var igång kunde jag se tre blad på mittpropellern men jag kunde bara se två på vingmotorerna. Det kan naturligtvis vara svårt att avgöra med motorerna igång men sedan tittade jag på en annan bild, och där var det två blad på vingmotorerna och tre på mittmotorn. På den här bilden kördes inte motorerna så inga misstag här . Men den här bilden gav mig en trevlig överraskning. Kåpan är på vingen var av den avsmalnande Junkers-typen. Nu var jag ner i bara en P&W-motor och en ny kåpa. Eftersom att oddsen knappast skulle bli bättre bestämde jag mig för att börja på modellen.
With this information that the BMW engines was used I had a look at the few pictures I have of the planes before they were re-engined and I now saw that the wing engine had the slotted front plate that is seen on BMW engines but the centre engine didn’t have this. So now I only needed one new engine but still three new cowling’s. One thing puzzled me though. On the picture the engines was running and I could see three blades on the centre prop but I could only see two on the wing engines. It could of course be hard to tell with the engines running. Then I looked at another picture and there it was two blades on the wing engine and three on the centre one. On this picture the engines wasn’t running so no mistake here. But this picture gave me a pleasant surprise. The cowling’s on the wing engines were of the tapered Junkers type. Now I was down to only one P&W engine and one new cowling. As I figured that the odds would not get better I decided to start on the kit.
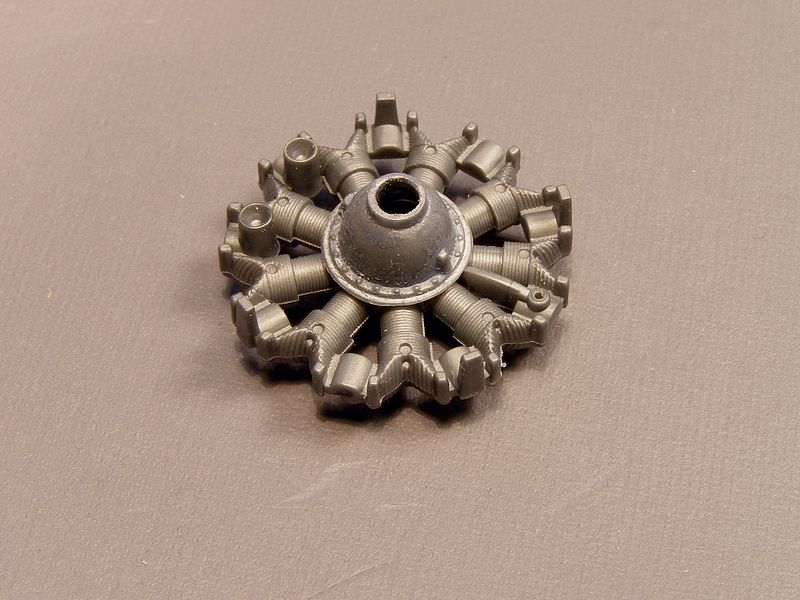
Istället för att jaga rätt på en ny motor bestämde jag mig för att fuska.
Instead of hunting down a new engine I decided to cheat.
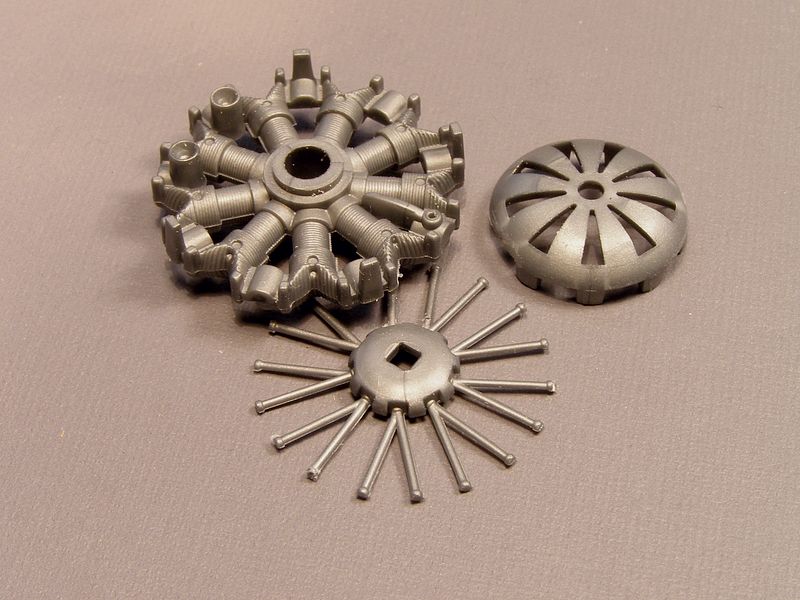
Jag tog BMW-motorn
I took the BMW engine
och sedan jag kapade jag fronten av en Monogram DC-3 motor
and then I cut the front off a Monogram DC-3 engine
och monterade den på BMW:n.
and put that on the BMW.
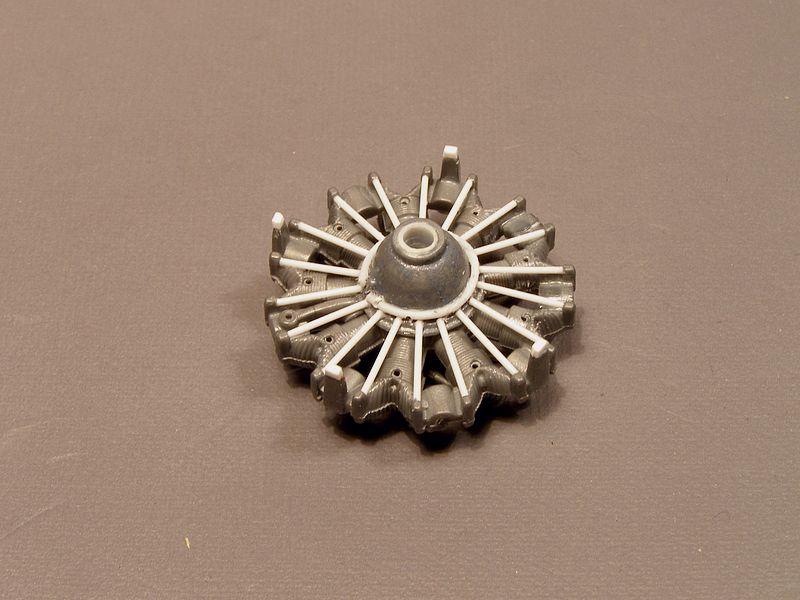
Sedan lade jag till stötstänger
Next I added push rods
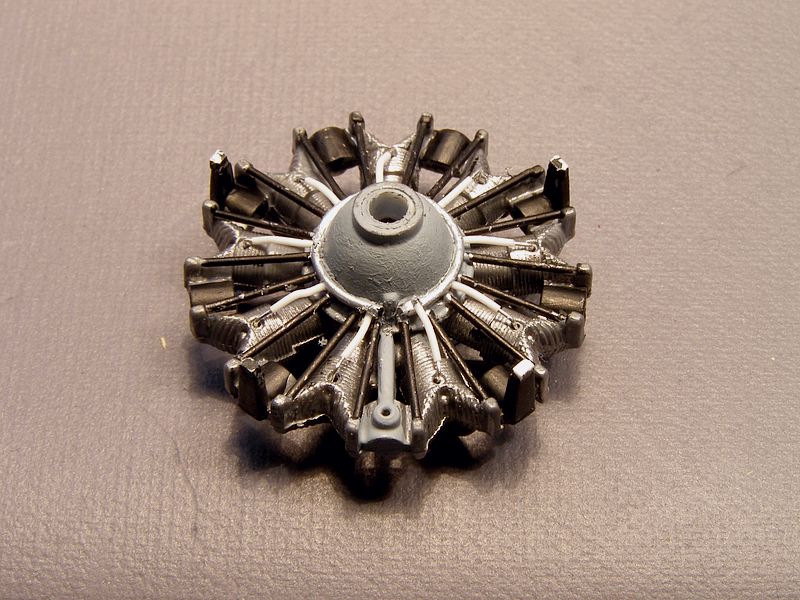
och när jag hade målat den lade jag till tändkablarna.
and when I had painted it I added ignition cords.
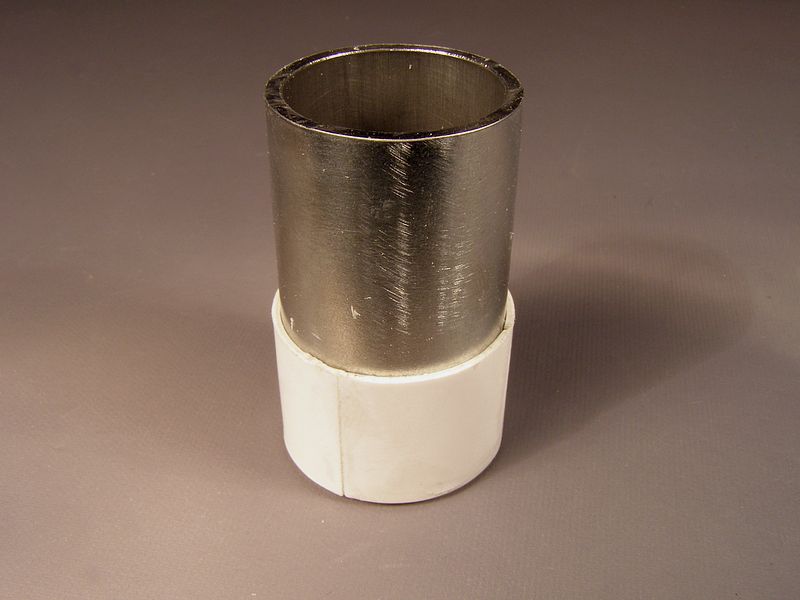
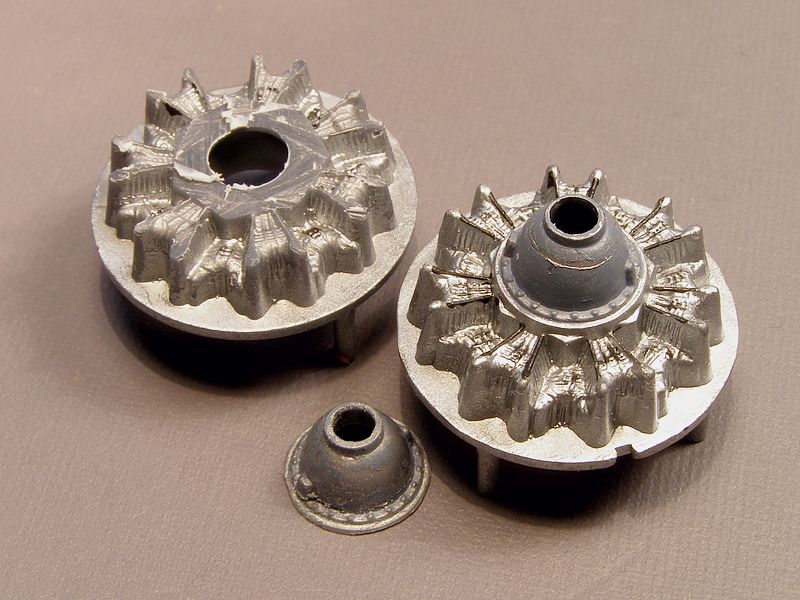
För en ny motorkåpa började jag med ett metallrör . På denna limmade jag tre lager av plasticcard för att få ett plaströr av önskad diameter.
For a new cowling I started with a metal tube. On this I glued three layers of plastic card to get a plastic tube of desired diameter.
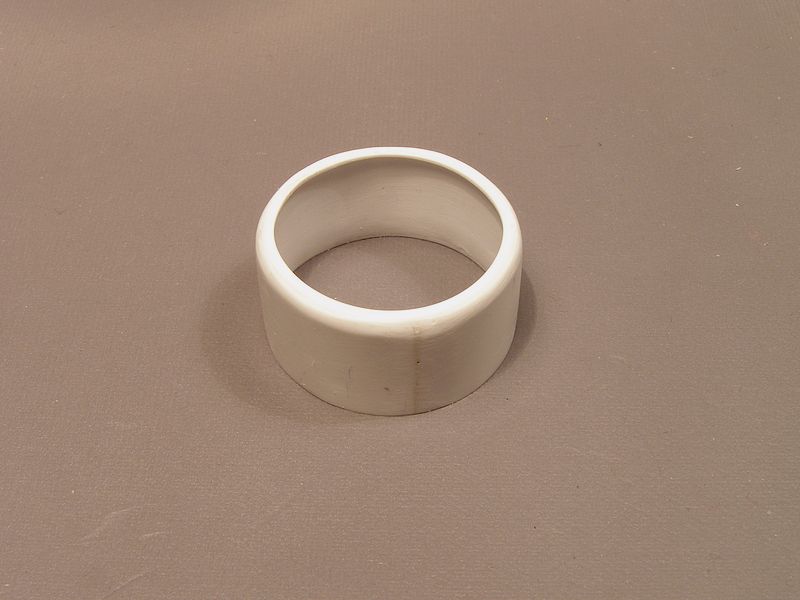
Lite plastremsor i fronten för att göra en fläns innan slipning av det hela.
Some plastic strips in the front to make a flange before sanding the whole thing.

En tre-bladig propeller från den nya Venturasatsen avslutar det hela. Jag läste att Revells Venturapropellrar var av fel typ . I stället för den breda militära typen gjorde de smala blad så jag tänkte att det borde finnas någon som köpt eftermarknadspropellrar och hade byggsatsens Venturapropellrar över och en amerikansk modellbyggare kom till undsättning. Resten är till största delen ett rätt ur lådan bygge men berätta inte för någon att jag fuskade med motorn. När allt kändes bra märkte jag att satsen hade en sporre medan min modell behövde ett stjärthjul. Inget att gråta över. Bättre att försöka fixa det.
A three blade propeller from the new Ventura kit finish it. I read the Revell goofed with the Ventura props. Instead of the broad military type they made narrow blades so I figured that there ought to be someone out there who got after market props for their kit so I asked if someone had Ventura props not needed and an American modeller came to rescue. The rest is mostly an out of the box build but don’t tell anyone that I cheated with the engine.
When everything felt good I noticed that the kit had a tail skid while my model needed a wheel. Not much use in crying. Better get on and fix it.
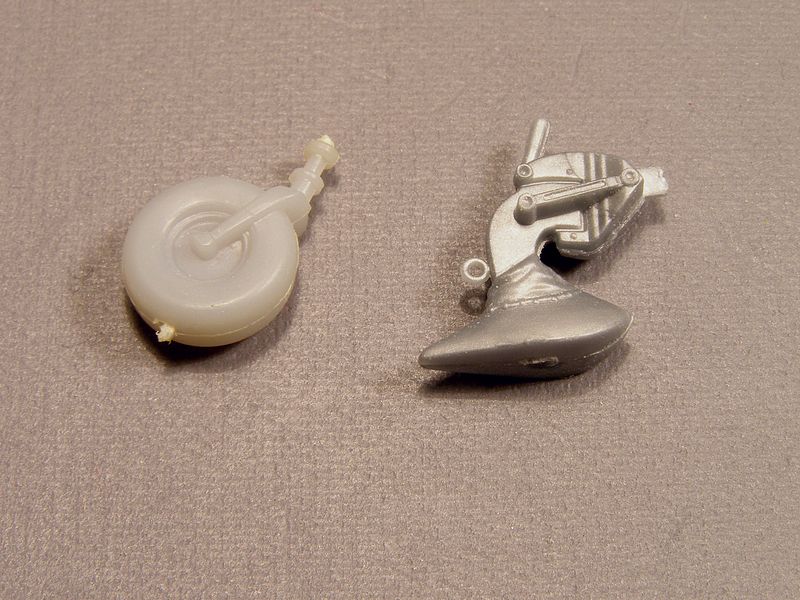
Jag hittade ett Novo 1/72 Lancasterhjul som jag tänkte försöka använda. Kanske lite för stor men det fick duga.
I found a Novo 1/72 Lancaster wheel that I would try to use. Perhaps a little big but it would have to do.
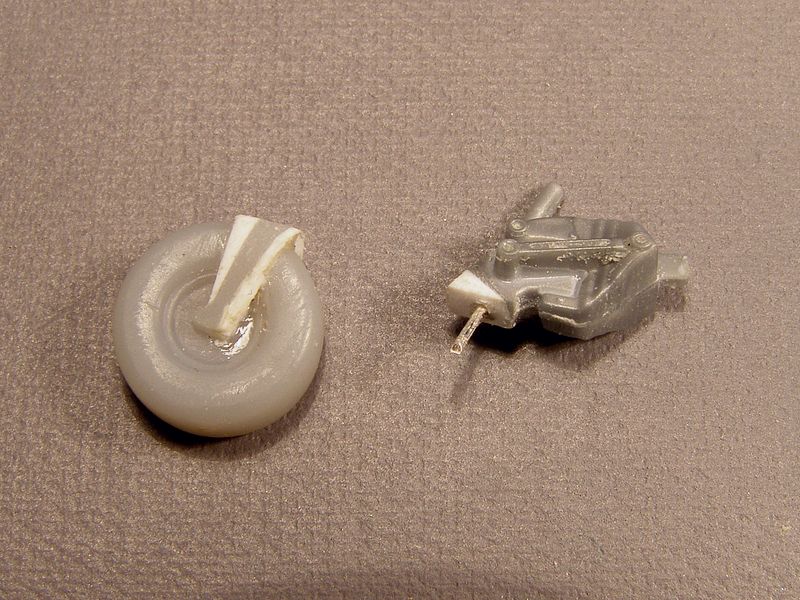
Jag försökte fixa till utseendet på den med plastremsor innan jag kapade den och sporren. Jag förstärkte skarven med en metallpinne och hoppas att det ska hålla.
I tried to beef up the look of it with plastic strips before I cut it and the skid in parts to mate them. I enforced the joint with metal hoping it will not break later.
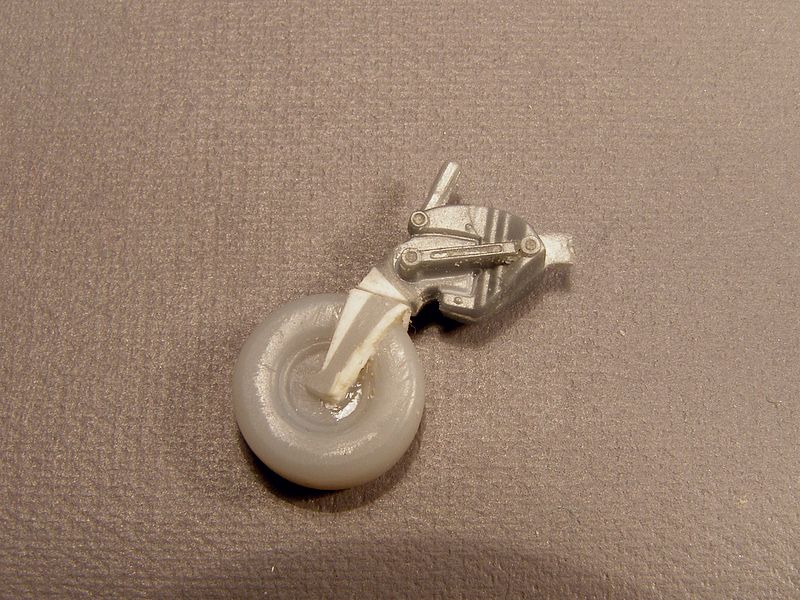
Så det här är hur det kommer att se ut när jag limmat ihop bitarna. Som vanligt när det gäller mig är det inte helt korrekt men det får duga. Jag har tillräckligt med problem med att få något klart som det är nuförtiden.
So this is how it will look when I glue the pieces together. As usual when it comes to me, not correct but it will have to do. I have enough problems finishing anything as it is these days.