by Tony Bell
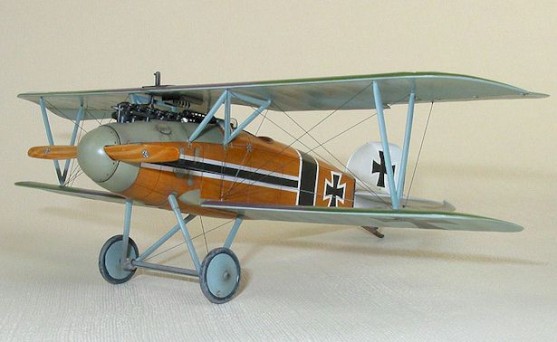
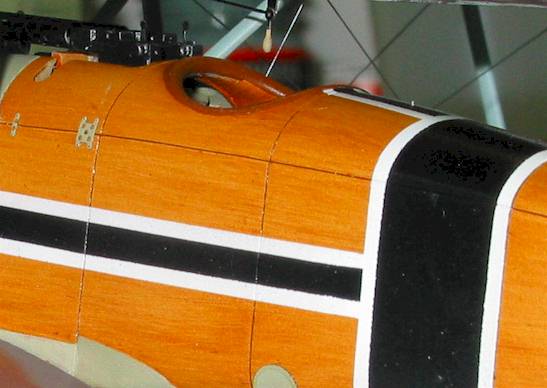
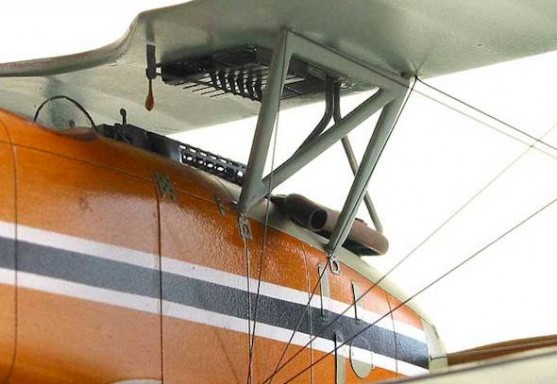
Having only recently attempted my first WWI aircraft model, I went through a learning experience in some new techniques. Rigging and and replicating varnished wood in particular required an approach that I haven’t tried before. This article describes shortly the technique I have read about and developed to replicate wooden skinning and various elements of this 1/48 Eduard Albatros D.III, with effects as shown on the pictures (a comment from another modeller seeing these pictures was ”I can almost smell the varnish” – Ed.)
Step one: Background colour
Paint the fuselage a light tan acrylic. A 1:1 mix of Tamiya Buff and white, thinned with lacquer thinner works well. The lacquer thinner etches the paint to styrene, providing better adhesion than water or alcohol thinners.
It is important to use an acrylic base colour because it is chemically impervious to the steps that follow.
At this point it might also be useful to paint a test piece from the spares box. This can be used to experiment with different colours of oil paints and also to determine when the oils have dried following step 4.
Step two: Applying the wood grain
Mix the wood grain colour from artists oil paints. The higher quality ”artists grade” paints (as opposed to the ”student grade”) work much better because the pigments are much more finely ground. Windsor & Newton and Grumbacher are two good brands. The colour in the example was mixed from Windsor & Newton Burnt Sienna, Yellow Ochre and Raw Umber in an approximate ratio of 1:1:2.
Once the base coat has cured, brush the oils onto the model with a broad, soft brush, and spread the paint around until the desired colour density is achieved. Don’t spread it on too thick, or it will make the next step more difficult. At this point the oils will be workable for several hours.
Take a broad (~1/2 inch), soft paint brush that is clean and completely dry, and drag it over the oil paint, leaving wood grain streaks. Jiggle the brush every now and then to give the grain a bit of variation. As the brush picks up the paint, wipe it off on a clean, lint free cloth. Lint free is the key phrase, as any speck of lint will adhere to the oil paint and mar the finish.
Appendix: Recovery
The beauty of this technique is that you can clean the oils off and try again if you goof up. Use a clean cloth and paint thinner (mineral spirits or turpenoid, not lacquer thinner) to wipe clean any mistakes and start over again at step 2. For my Albatros model, it took me about three or four tries to get the paint density and colour right, but it really was quite painless.
Step three: Gloss coat
Leave it alone to dry for at least a week (use the test piece to make sure), and then spray it with a clear acrylic gloss (e.g. Future floor wax) to protect the finish.
Additional tips
The colour of the background coat and the oils may be varied for different kinds of wood. However, be aware that selecting a good colour combination that gives that natural look is tricky. I recommend experimenting on a test piece first before committing yourself to apply the mixture on your latest wondermodel.
I arrived at my blend of Burnt Sienna, Yellow Ochre and Raw Umber in a ratio of 1:1:2 after trying with Raw Sienna (too red), Yellow Ochre (too orange), and one or two mixed combinations.
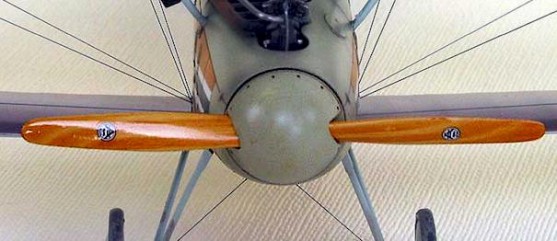
Laminated wooden propellers can be done exactly the same way, except that for the lighter layers, remove the oil paint with a fine brush moistened with paint thinner. You can also finish off with numerous coats of Future floor wax for a high gloss varnished look.
This article was originally published in IPMS Stockholm Magazine in March 2003.


