by Martin Waligorski
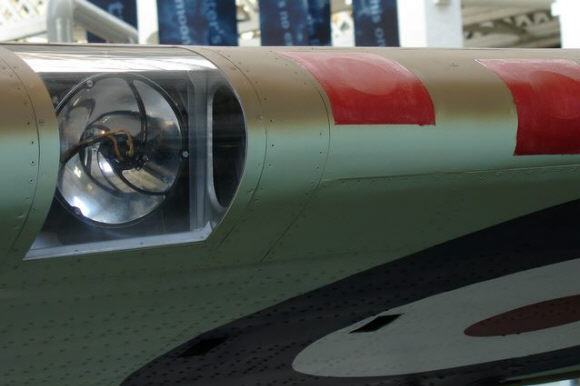
Many vintage and not-so-vintage aircraft had their landing or navigational lights incorporated in the wing leading edge, its lower surface or the surface of the fuselage, with the transparent glazing flush with the aircraft’s skin, a good example being this photo of the Hawker Hurricane. Also, camera ports were and are usually mounted in the same manner. Also let’s not forget cabin windows on airliners, and how about those rear-view windows on Curtiss P-40, P-51B Mustang or Birdcage Corsair?
Many scale model kits provide injection-moulded clear parts for these openings, but these often look unconvincing because the thickness of the plastic element makes itself painfully apparent on the model, either through optical distortion or visible edges of the clear plastic.
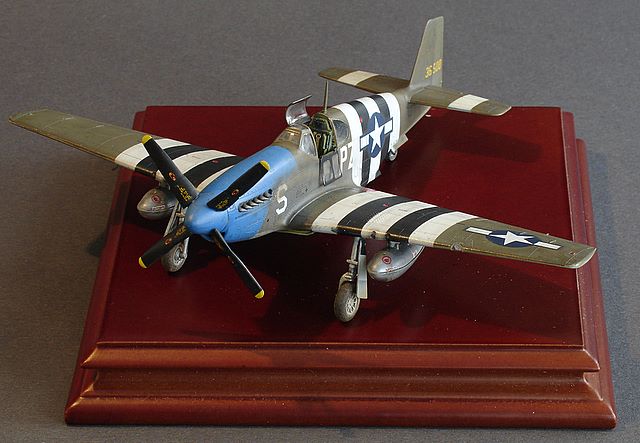
Here is a very simple method of producing alternative glazing for these elements which is very thin, very clear and does not produce any optical distortions. I’ll explain the technique by following a process to produce a leading-edge landing light for a 1/72 model of a P-51B Mustang.
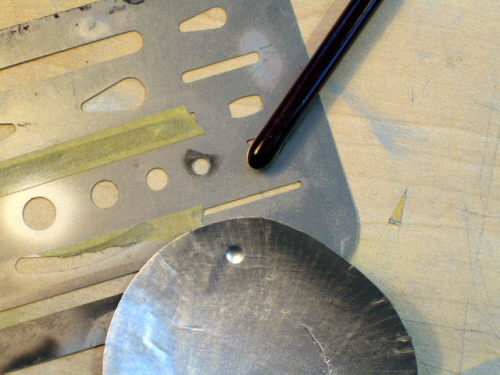
A landing light requires a reflector, so let’s start with producing one. A piece of thicker aluminium foil (actually a flattened muffin-size baking form) is pressed into a circular template of appropriate diameter using a rear-end of a paint brush. This produces a picture-prefect reflector shape with built-in metallic finish.
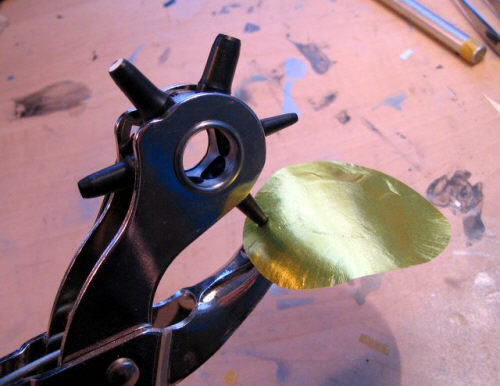
With some care, the reflector could be cut out with a scalpel, but I find it much easier to carve it out with a household punching tool. This tool was originally intended to produce holes in leather belts and was purchased in an ordinary hardware store.
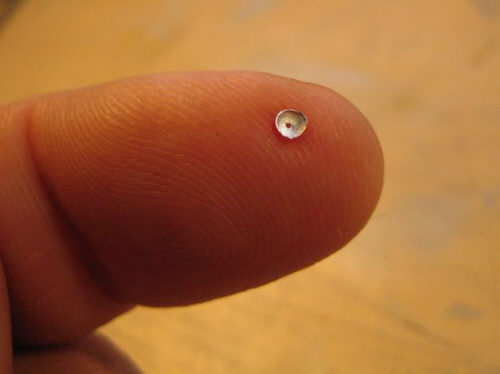
Here is the almost-ready reflector. As my punching tool is pretty worn out, some small trimming is still necessary at the top right side. I have also made a hole in the centre with a needle to insert a light bulb. The light bulb will be a piece of clear stretched sprue inserted into the hole and glued from behind.
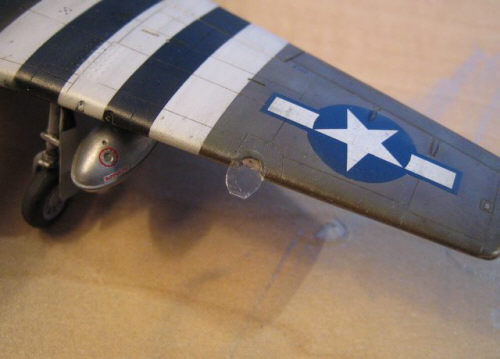
Now to the glazing itself. The best material is the ordinary office cello tape. This kind of tape is generally considered as unsuitable for masking due to its high adhesive properties, but it will actually work great for this application as the tape can be attached and will stay on the model without extra glue. Pick a good quality tape (I prefer the Scotch brand). Stick the piece of tape to a piece of glass and the cut the appropriate shape to match the opening, adding about 0.5-1 mm excess around it. Then, pick your newly-produced glazing and reapply it on the model. Some trial-and-error may be necessary, especially for oval openings such as one shown here.
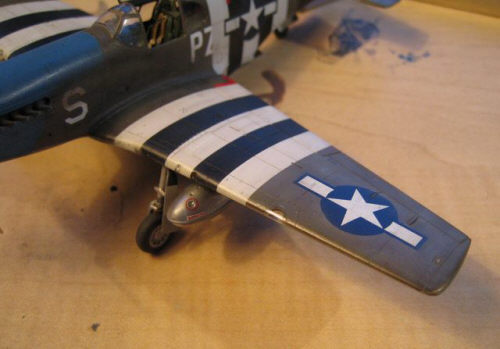
That’s really all there is to it. Readers may wonder if the surrounding tape excess will not spoil the look of the finished element, and I hope that this picture provides an answer. You could paint the resulting clear rim over, however I have never found it necessary as it is so unobtrusive!
Another question that may arise is if the sticky inner surface of the glazing would collect dust particles that may be left inside your model after previous sanding etc. I haven’t found this to be a problem yet, but I generally try to keep my models clean of dust also on the inside for the sake of all clear elements.
I hope you will find this simple technique as useful as I did. I’m sure there are other modellers that have been using it longer than myself; for my part I had learned this technique many years ago from Victor Krogius of Finland – for which I extend my thanks.
This article was originally published in IPMS Stockholm Magazine in December 2006